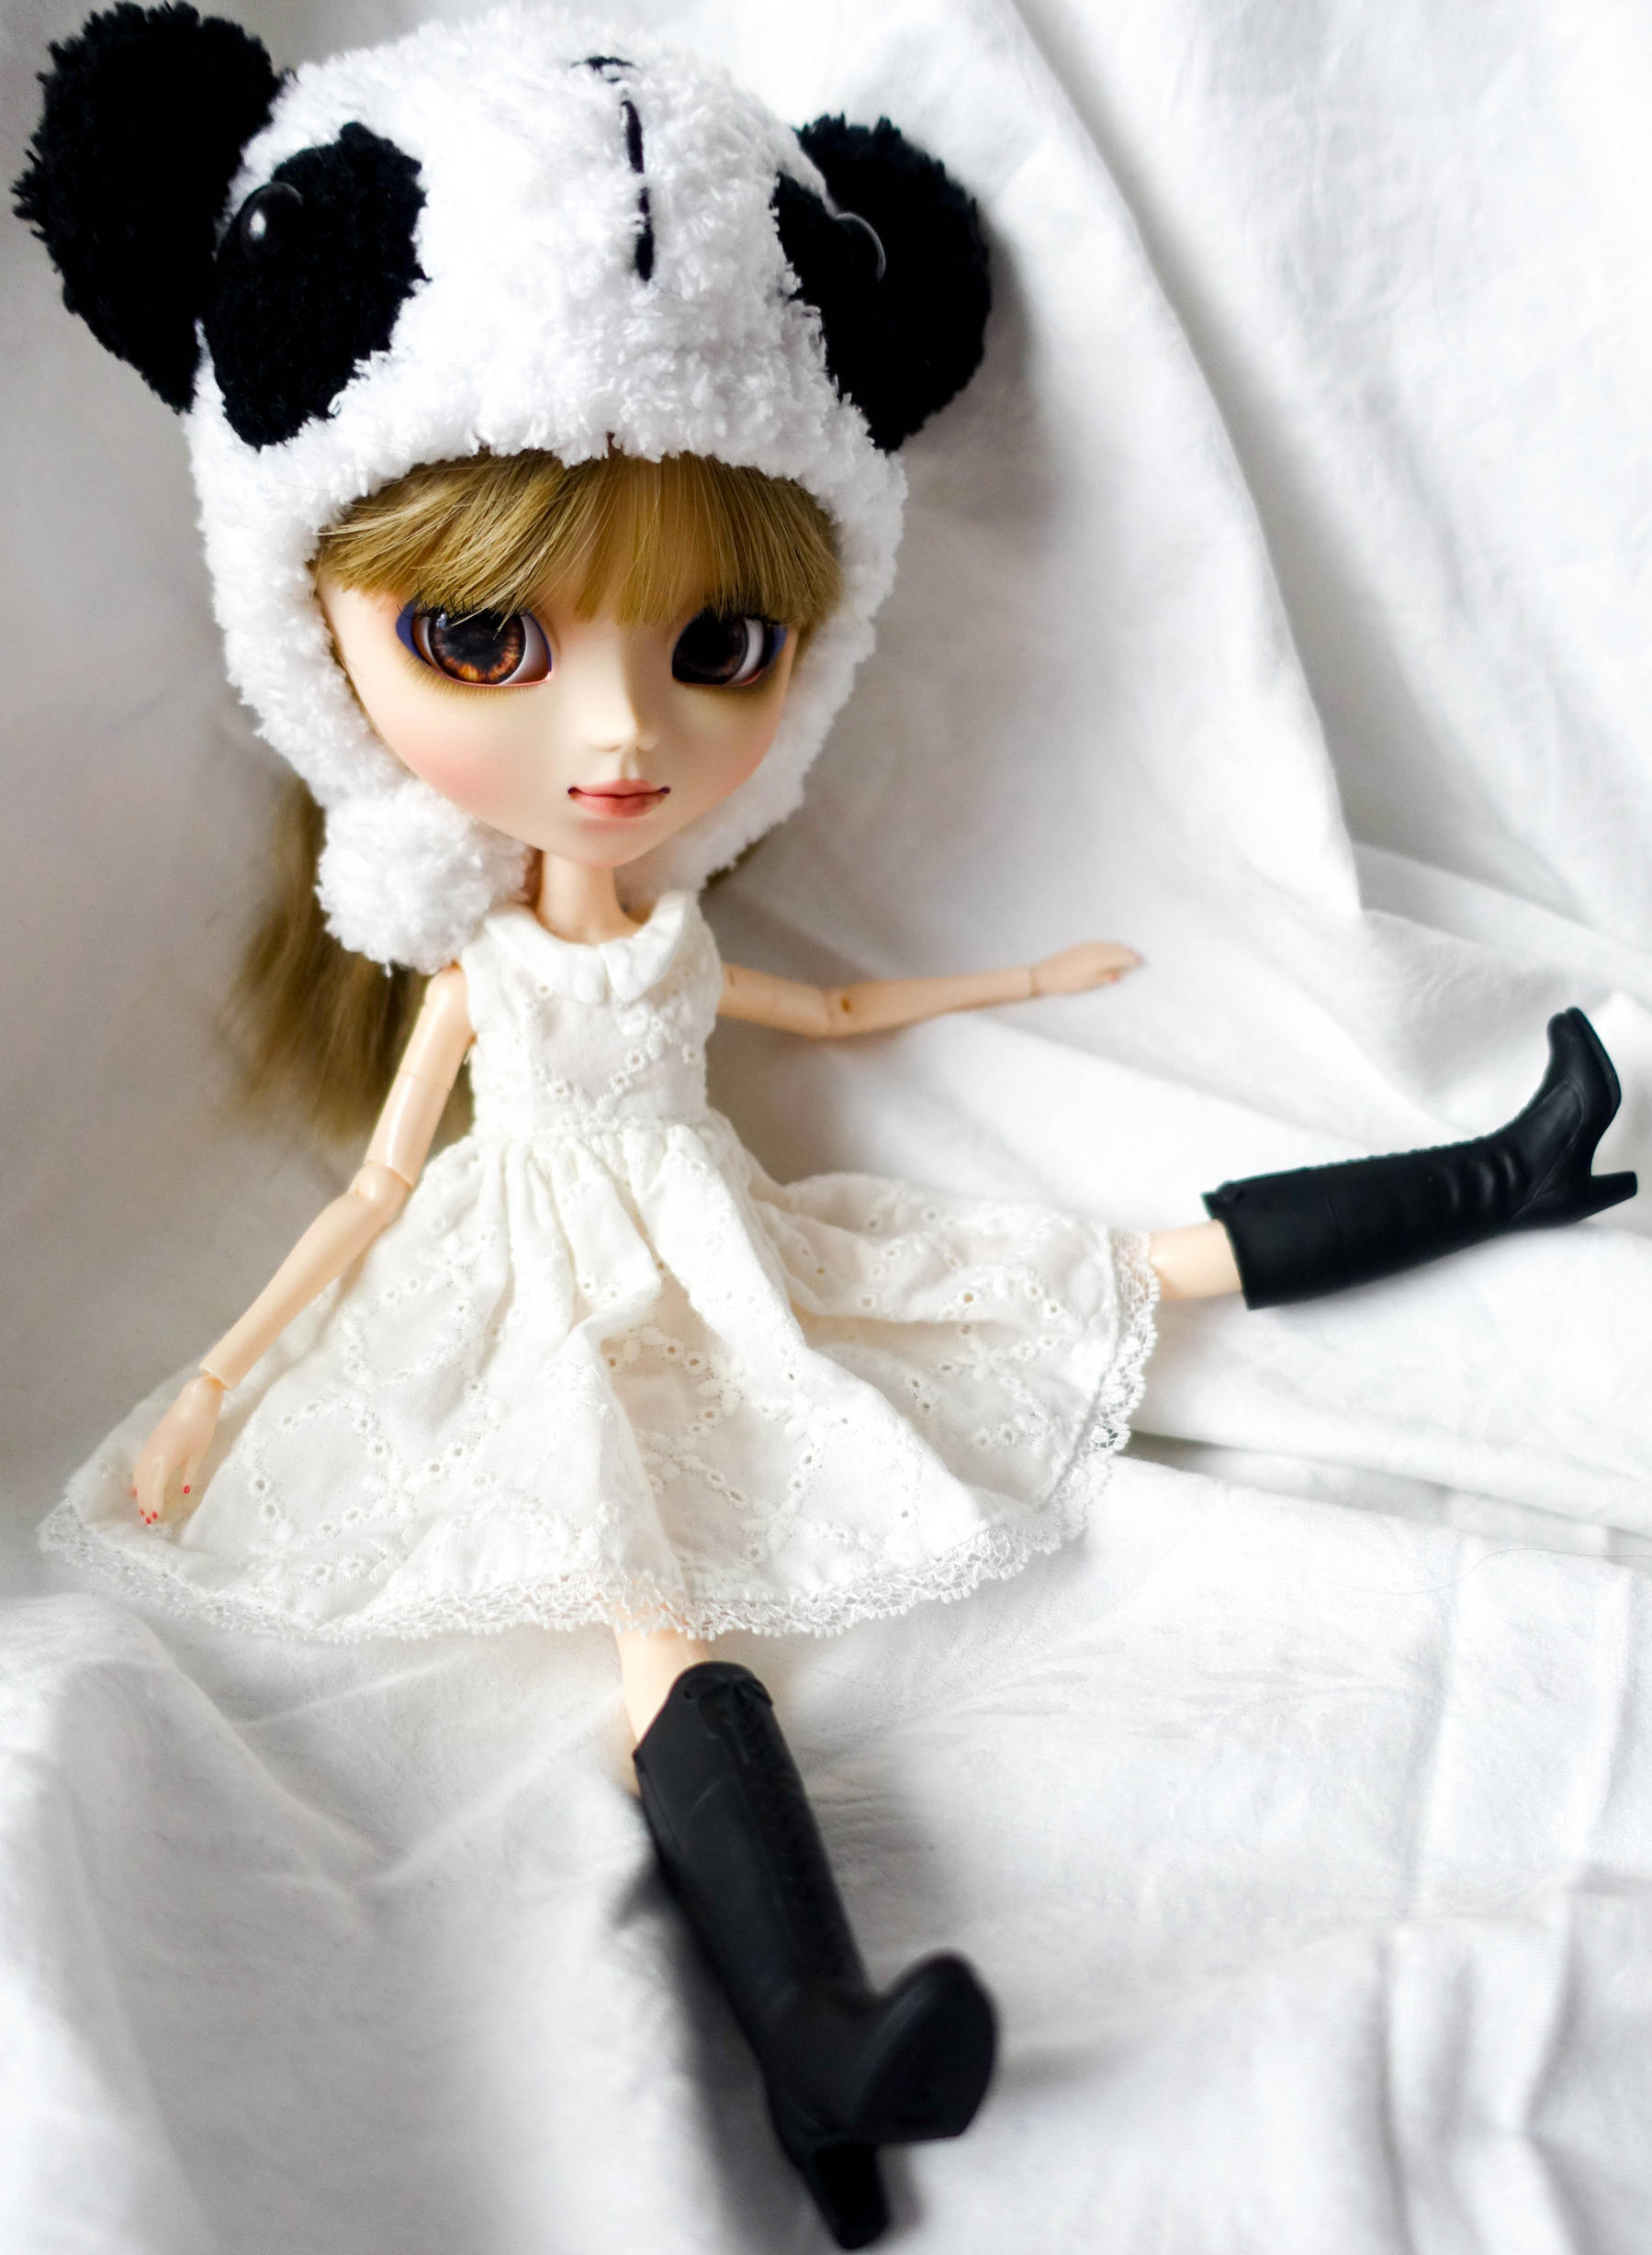
 Are you a Pullip customization rookie, but would like to change your doll’s eyechips? Deal! We are in this together and I wrote a simple list, you can follow. It is not easy at first, you might sweat and swear a bit, but in the end it will be absolutely worth it! 🙂
Remove your doll’s wig!
 This is the easiest part: Turn your doll around and look for the wig cap at the back of her head. Grab a normal butter knife (works just fine and you won’t cut your doll or your hand) and start to loosen the glue under the wig cap. After a while, you will be able to remove the whole cap by simply tearing it from your doll’s scalp.
Open your Pullip’s Head!
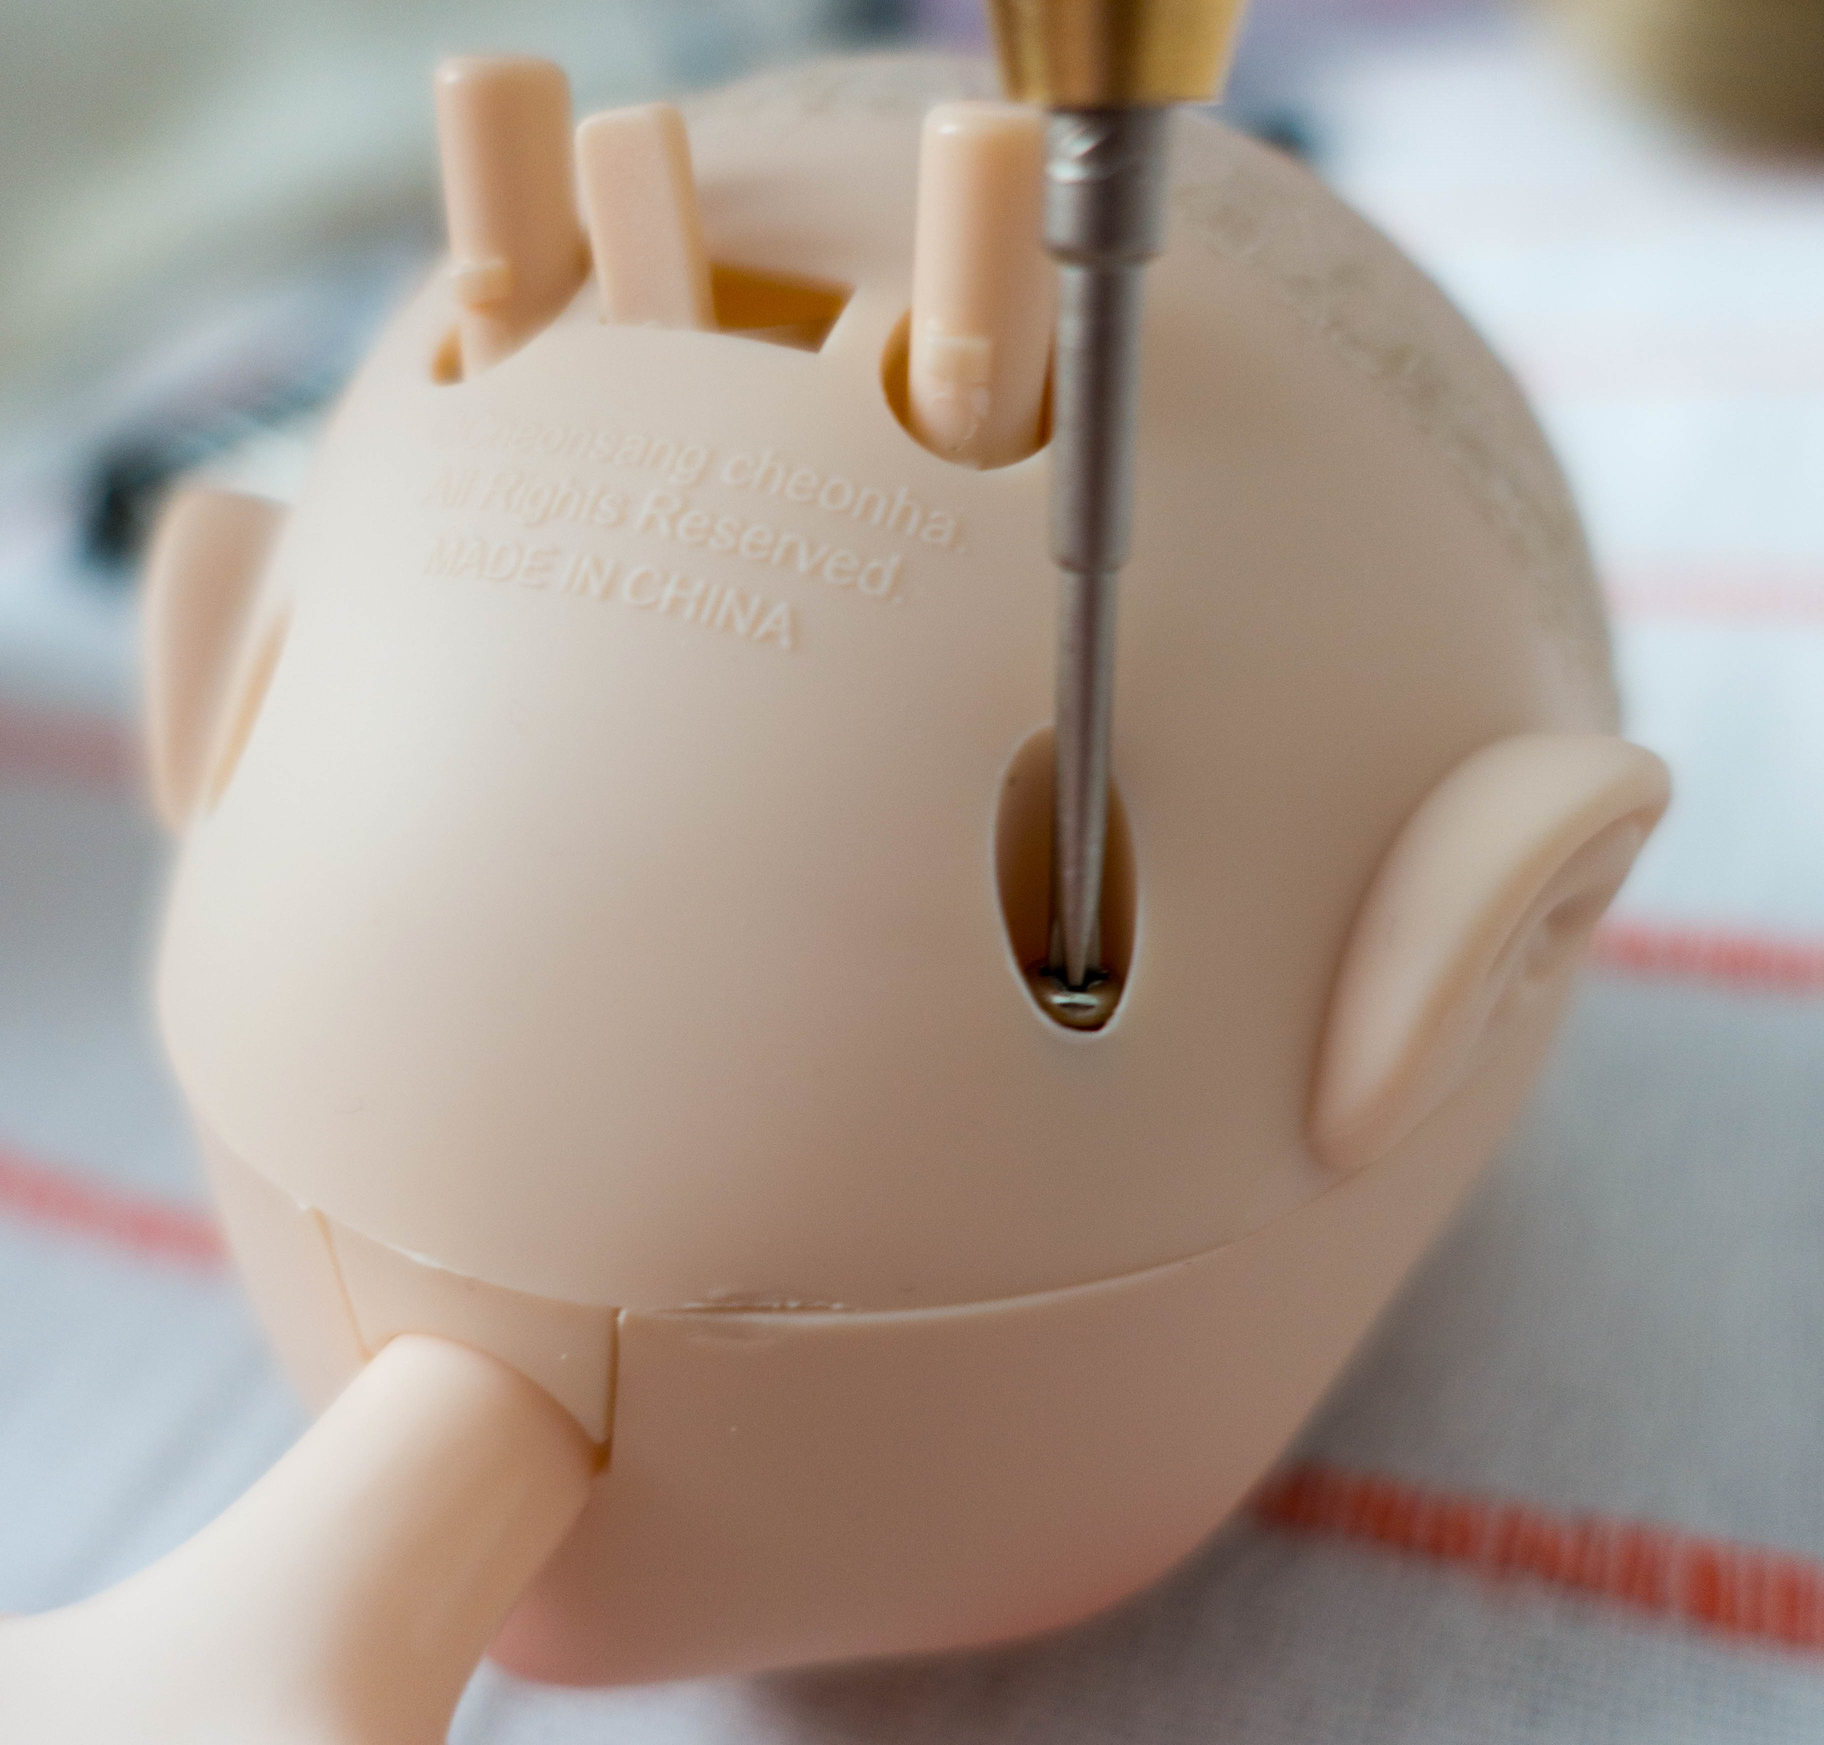 Once you have removed the wig, you will see that there are actually a total of three Philips screws at the back of a Pullip’s head. You need a slender screwdriver to remove them and afterwards you will be able to open the head. Voilà!
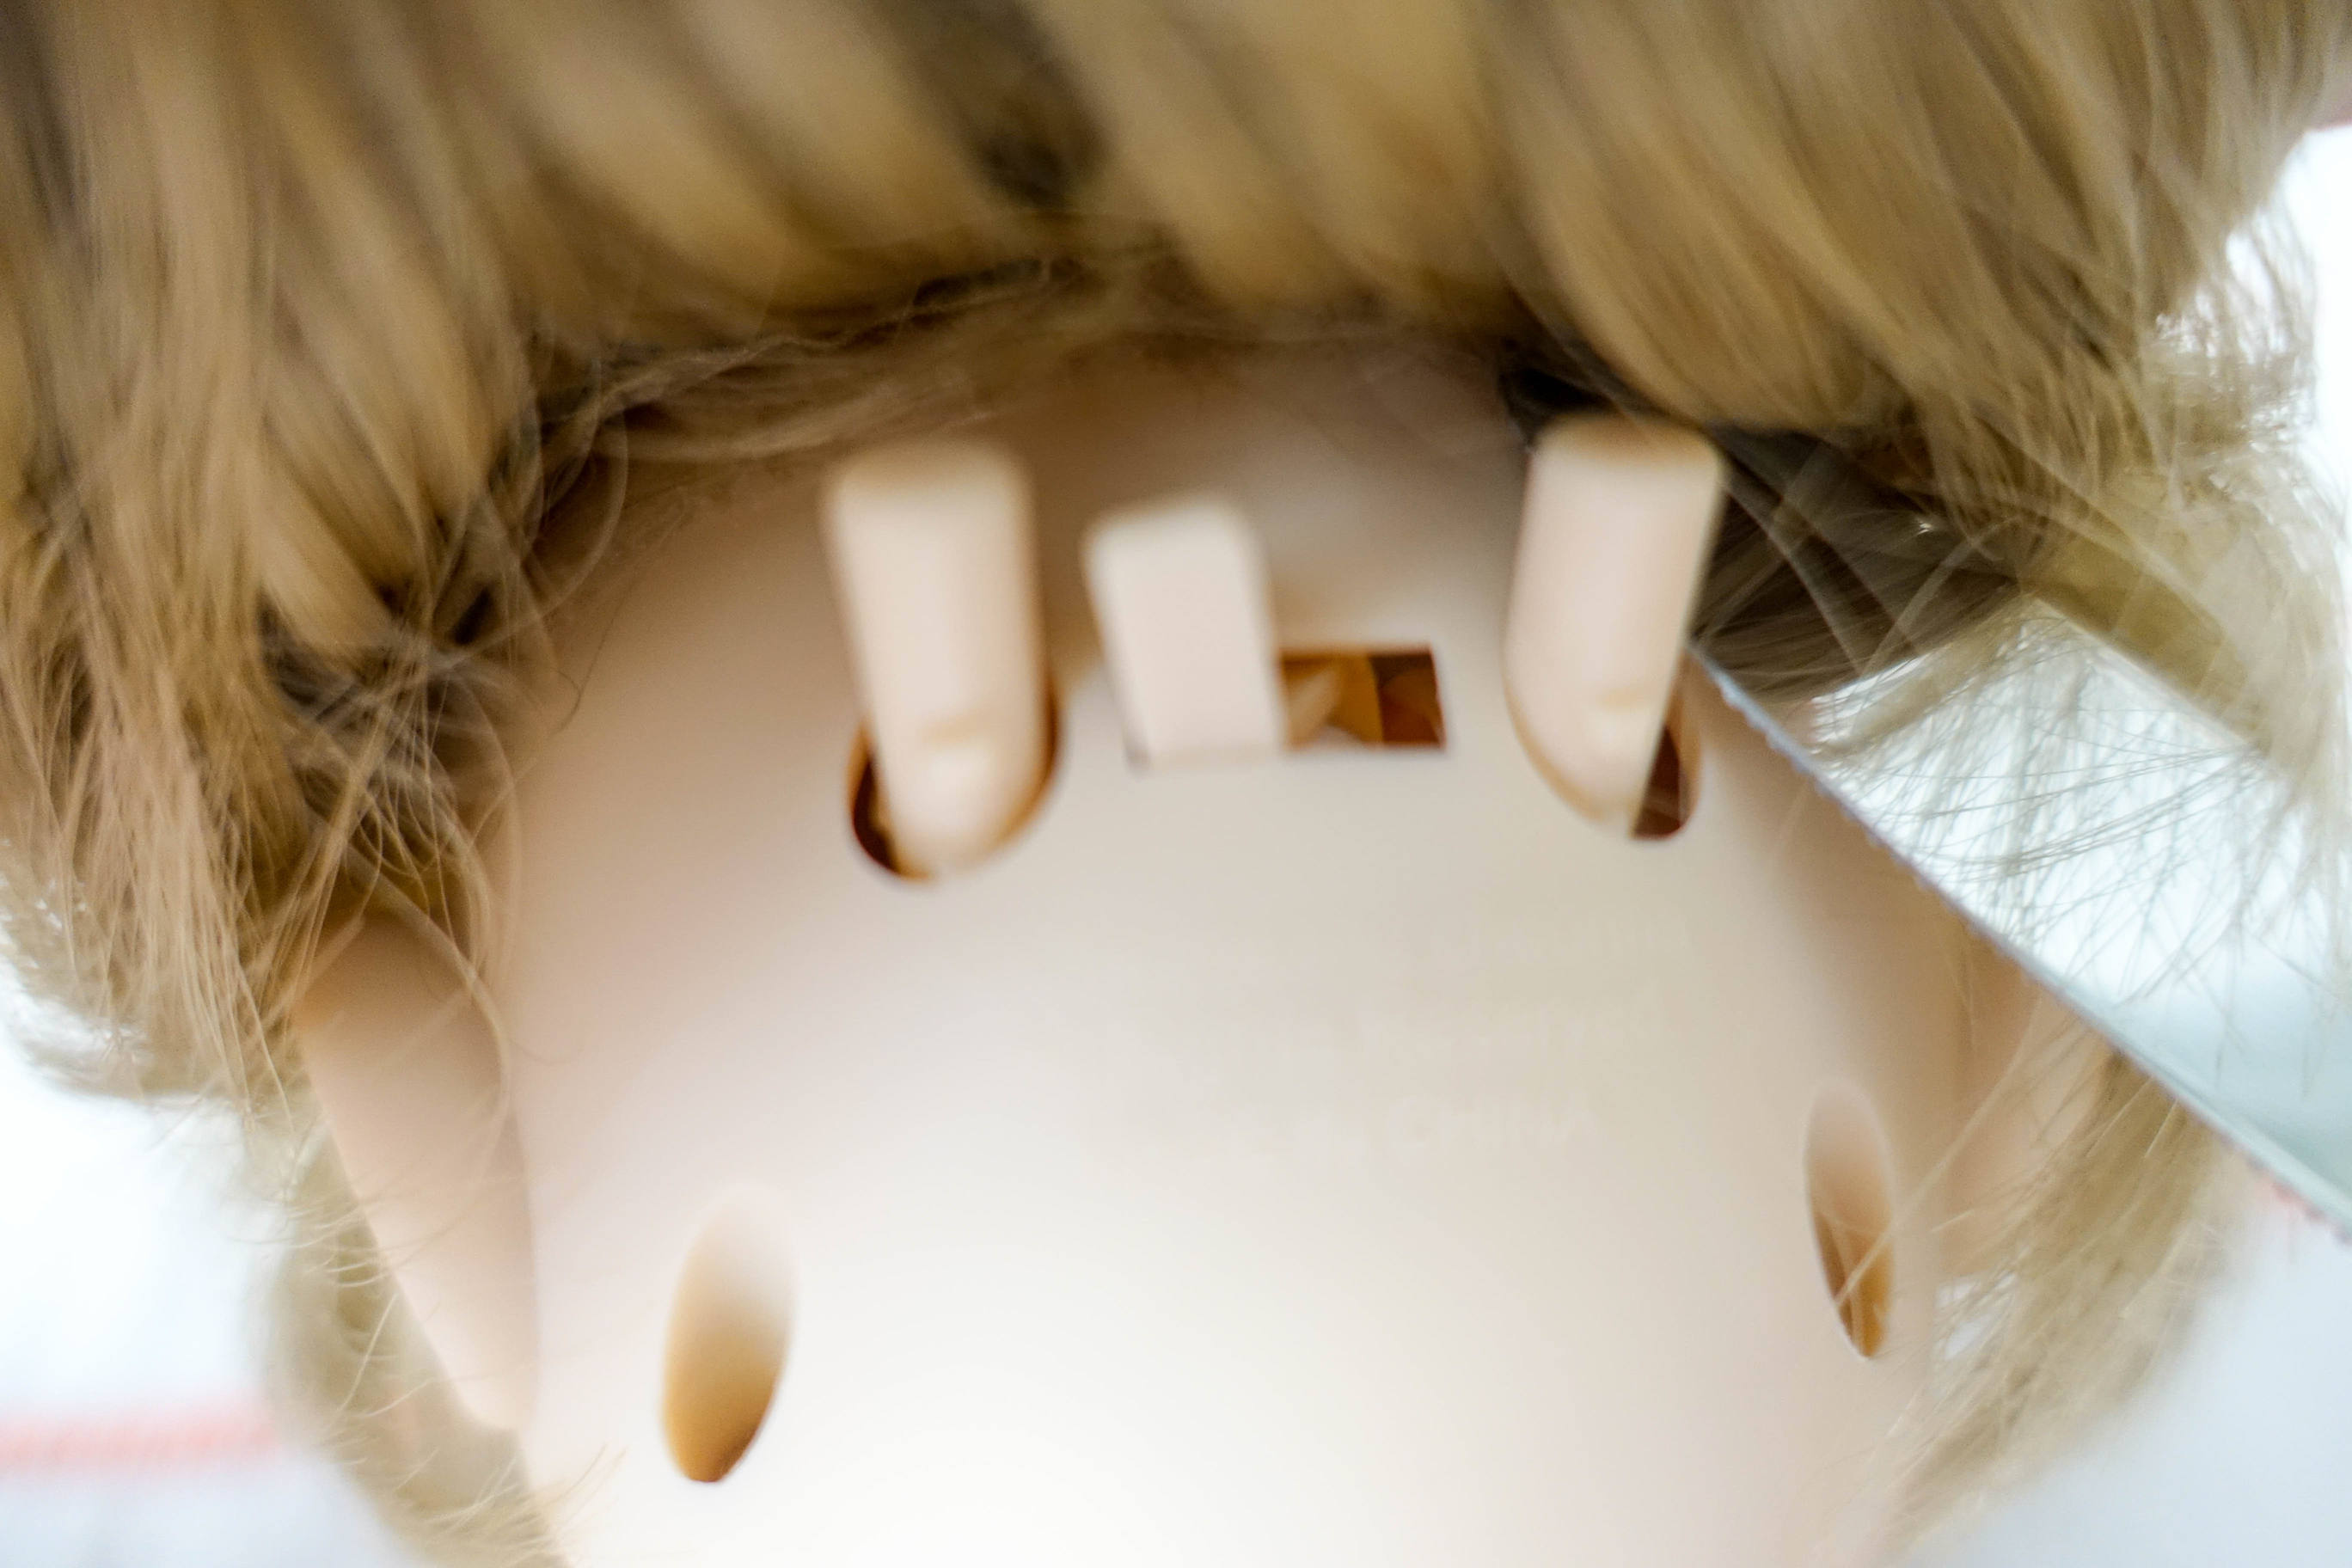
Remove the two loose flesh colored levers!
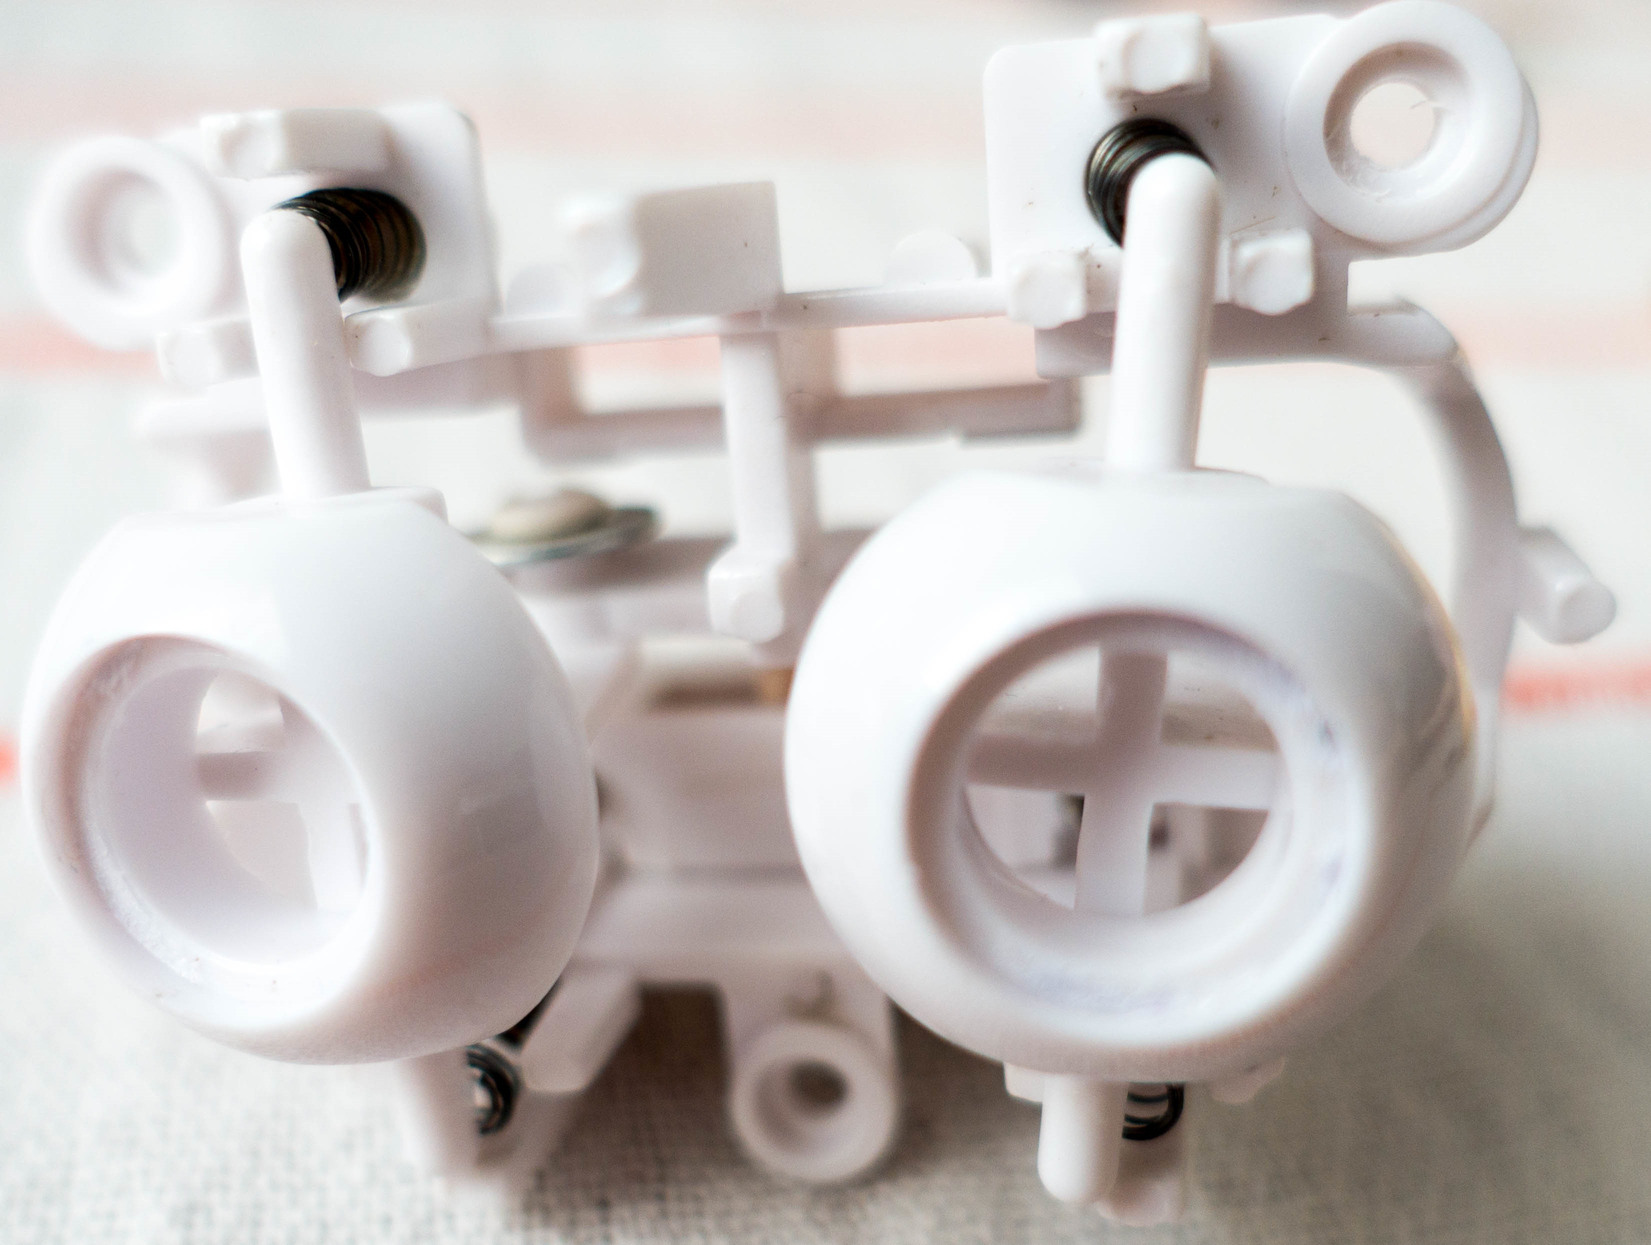
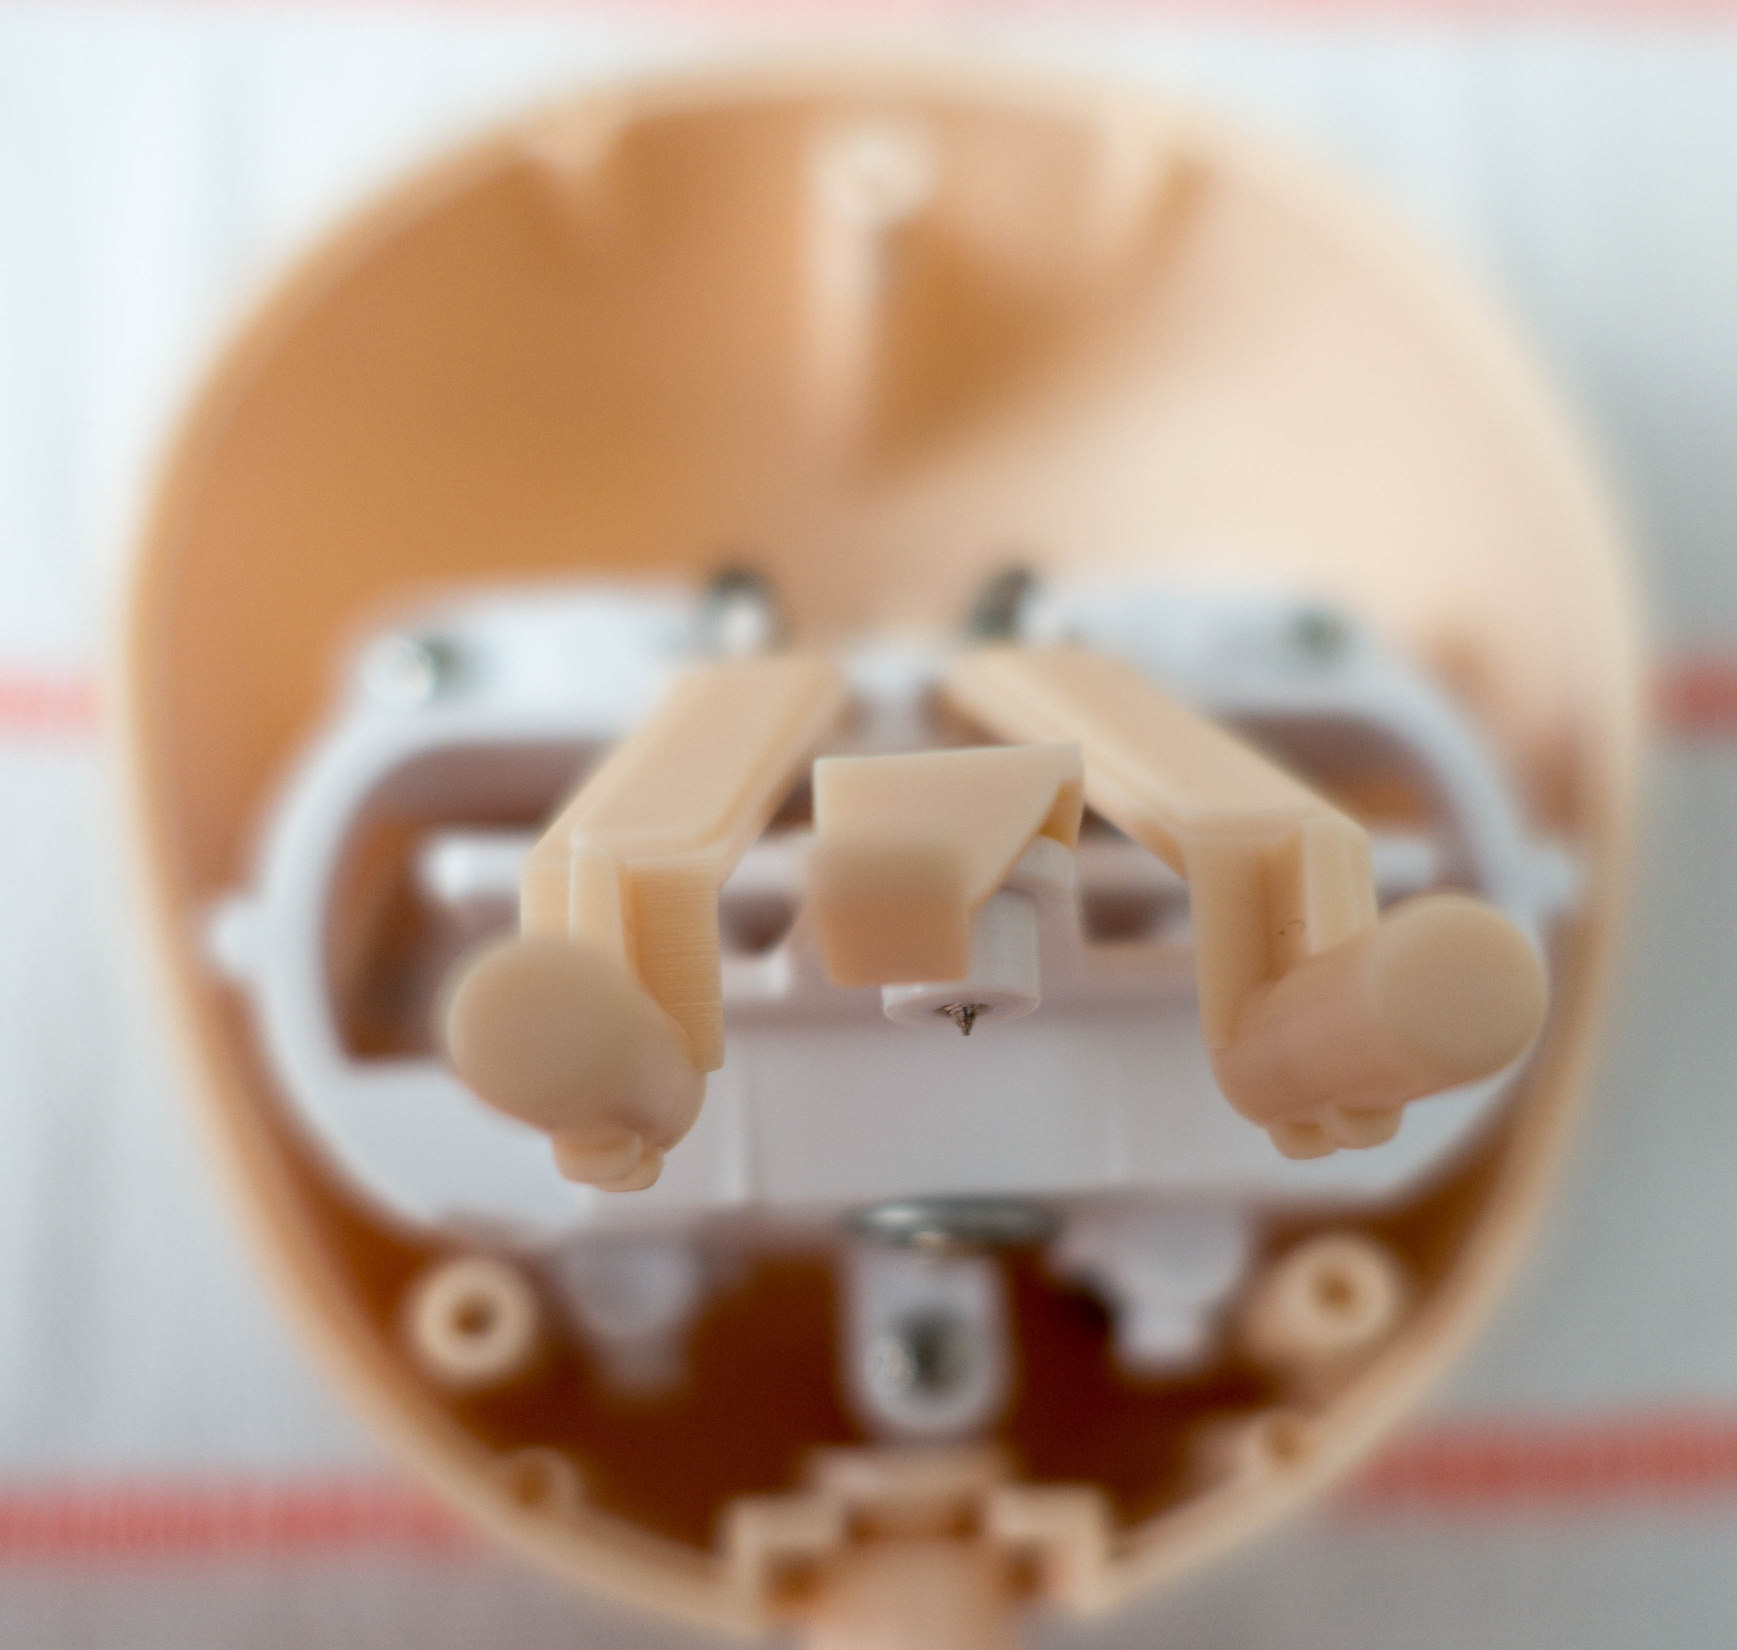 When you opened the head and are looking at the eye mechanism, you will see three flesh colored levers. The top two of them are just loosely lying in there and you can put them to the side.
Remove the eyelids’ springs from the mechanism!
 The only thing that attaches the eyelids to the eye mechanism, are two tiny silver springs that go around tiny ledges. Just slip them off those ledges and you are good to go on to the next step!
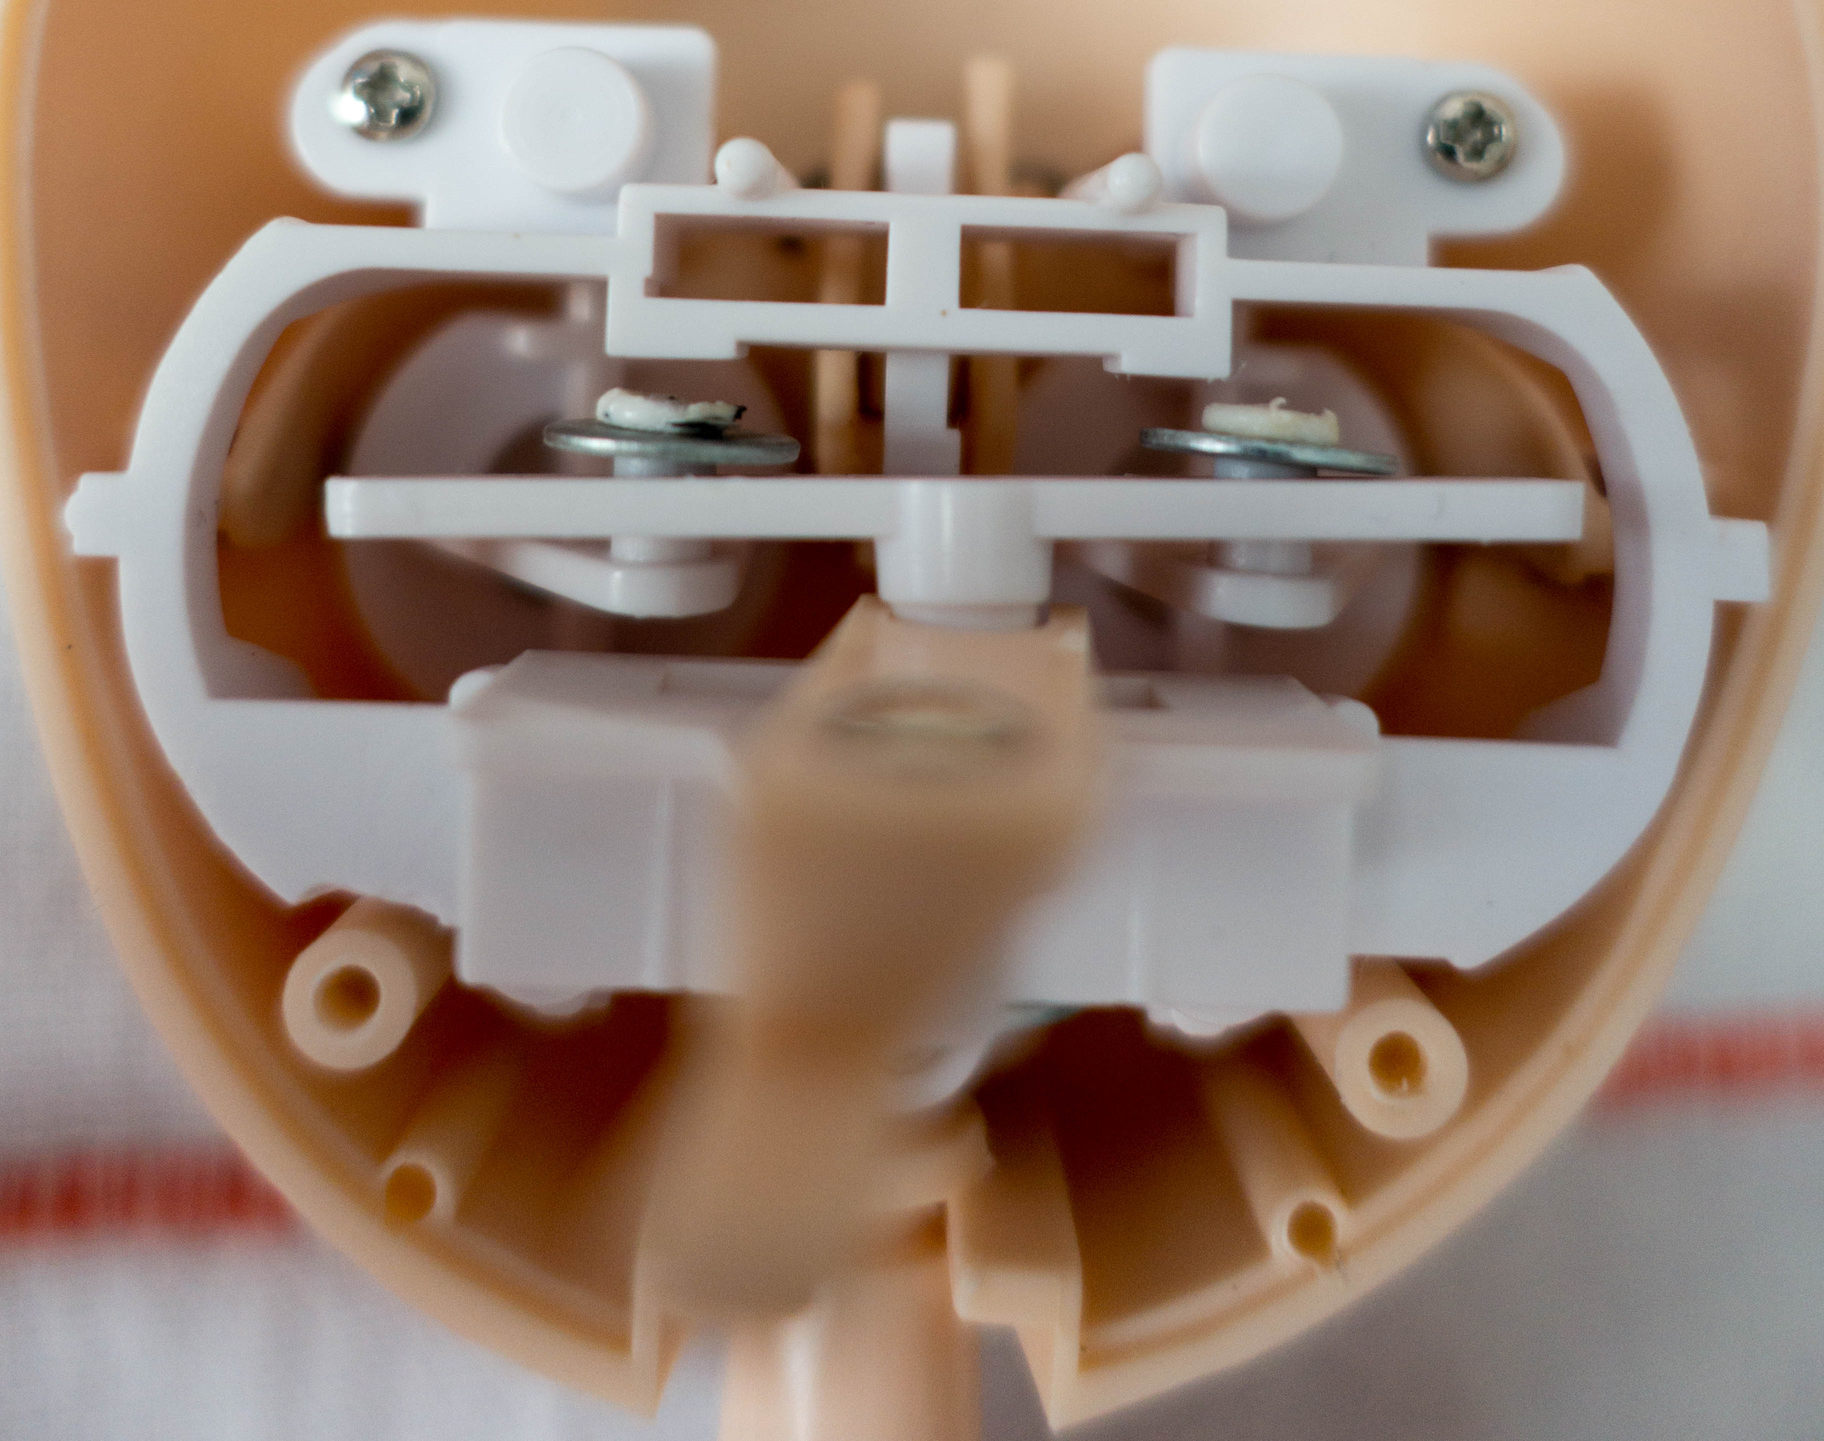
Unscrew the screws that connect the eye mechanism to the faceplate!
 There are three more screws that have to be unscrewed, which should work with the same screwdriver, you have already used before. Afterwards you will be able to take out the eye mechanism on its own, while the eyelids will remain loosely on the inside of the faceplate.
Remove the old/stock eyechips!
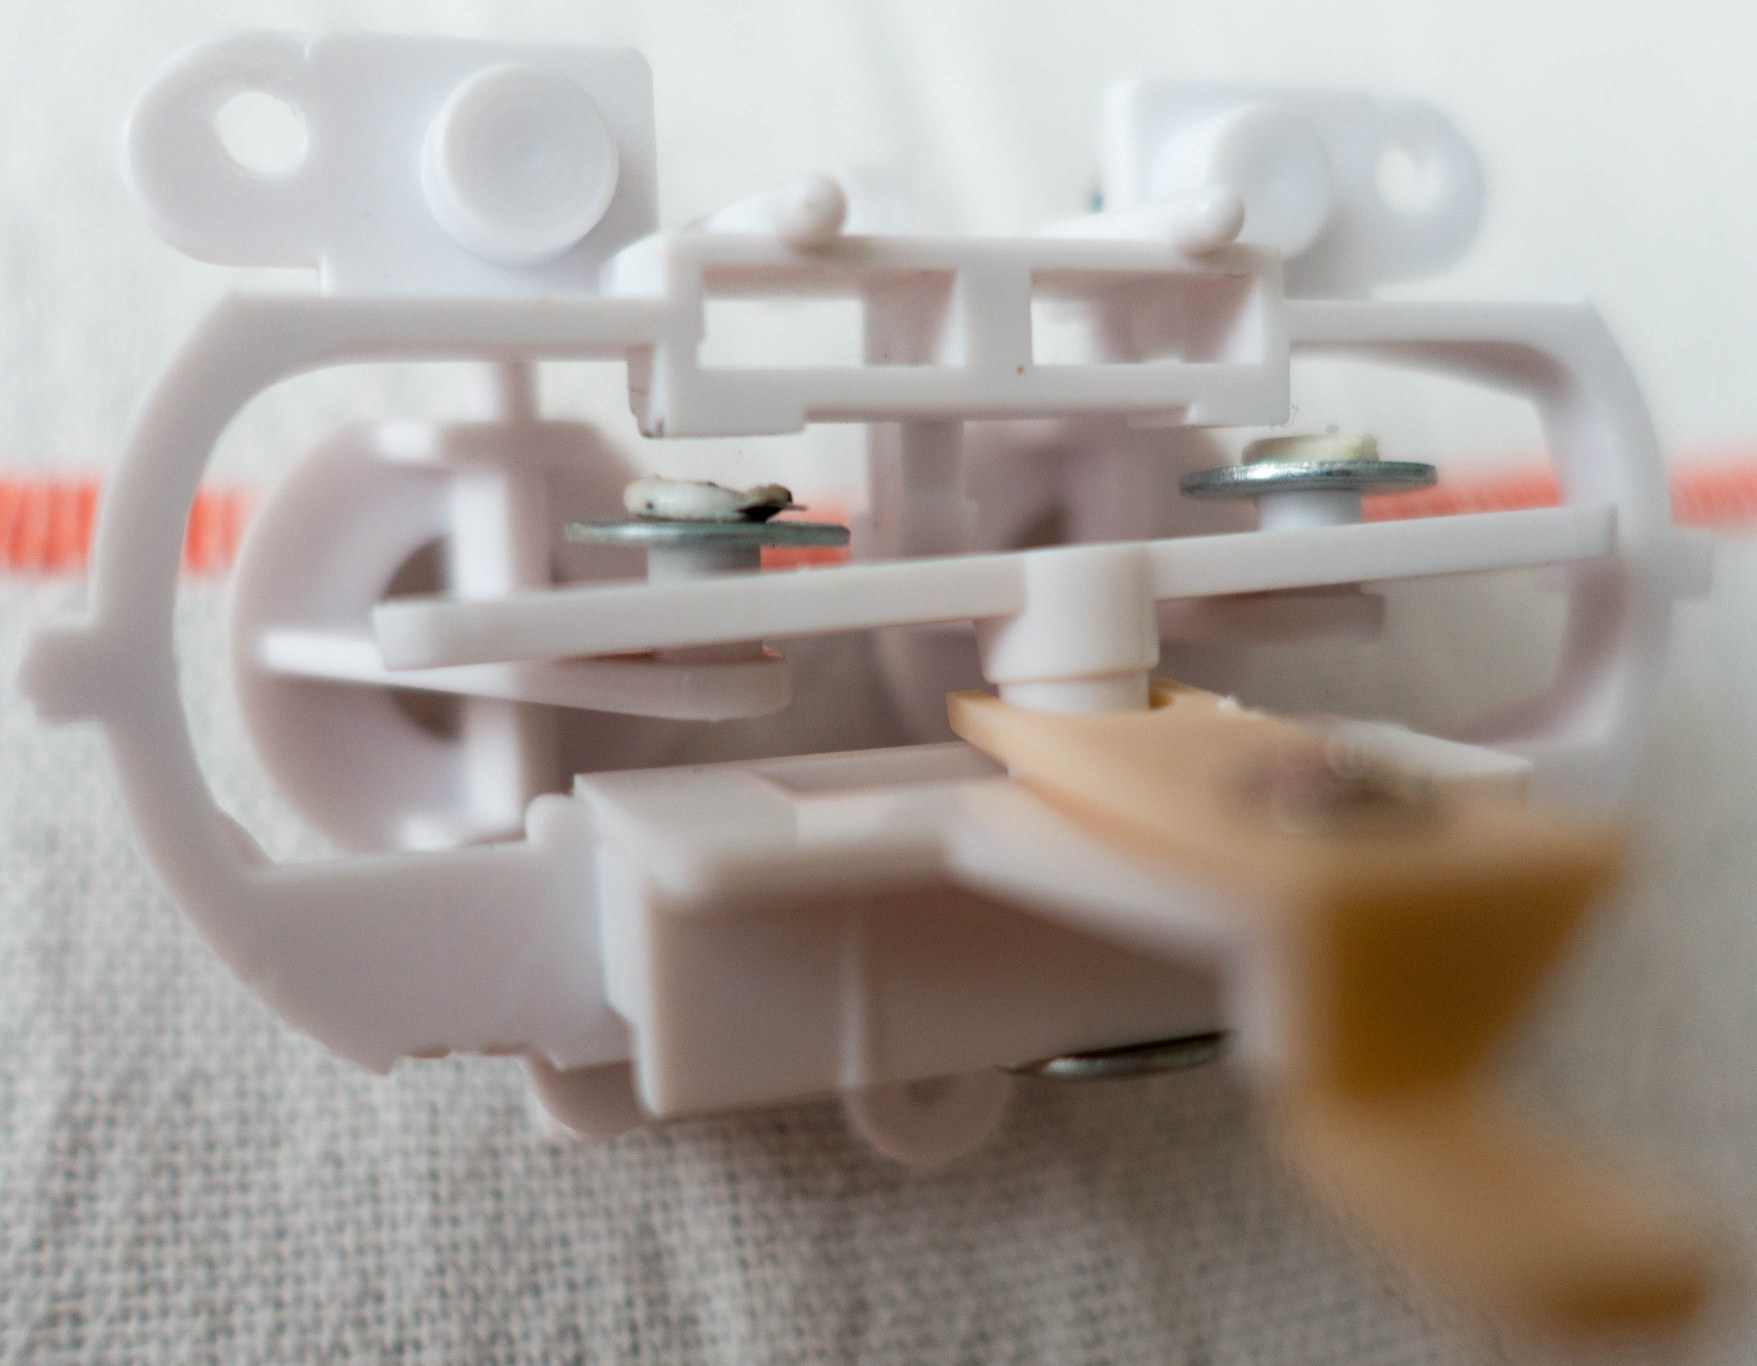 Stock eyechips are normally glued into the eye mechanism. When I was doing my research on removing plastic eyechips, it was suggested that you could use either pressure from behind or cut them out of the socket with an exacto knife. In the end, applying pressure with a wide dull screwdriver worked for me (for example torx), but it was pretty grating. If the eyechips won’t come out, ask the person in your household, who is the best in opening jars. They will get the job done. (Or you are better with an exacto knife, I made a few tiny scratches and ditched the idea. Seriously, I have no idea, how you should use the knife without completely destroying the eyechips.)
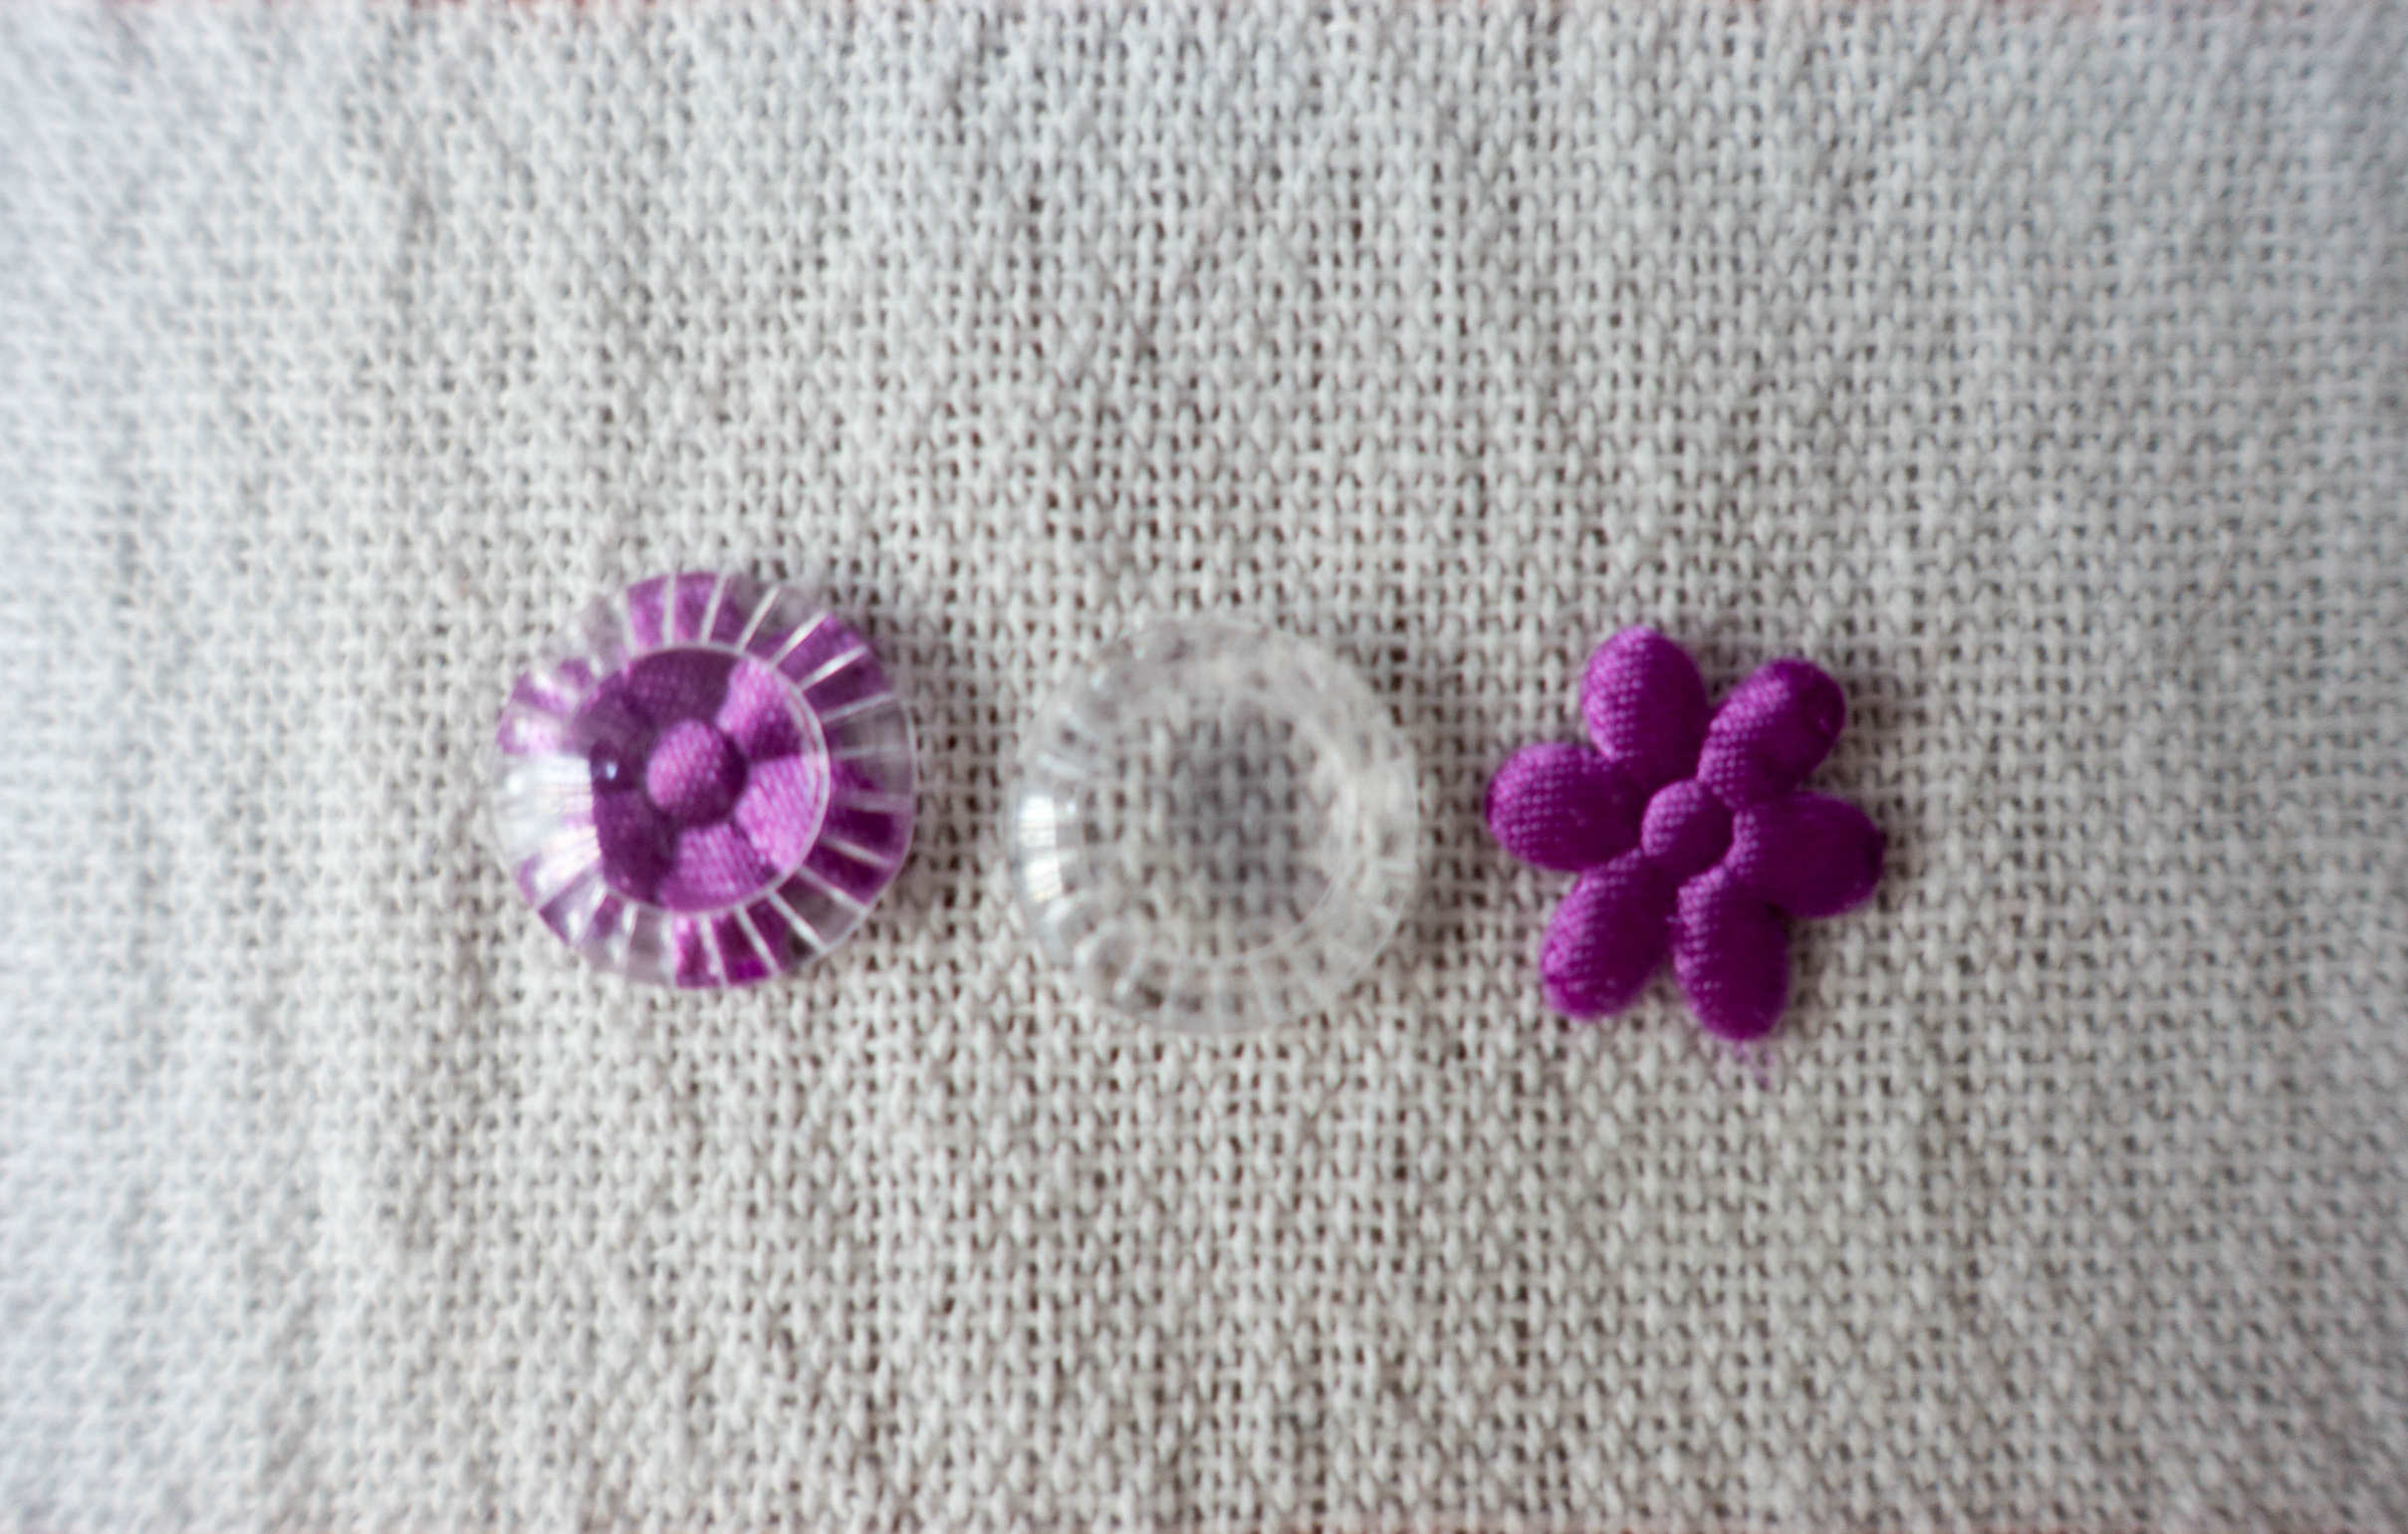 The stock chips of Pullip Lupinus have a clear plastic chip on the outside and a purple flower out of fabric underneath and the back of the eyechips are covered with white paper, which will be destroyed when you push it out from behind. One of the clear chips also got a little bit damaged, which is a shame, but I knew that some stock chips will break due to their amount of glue.
Put the new eyechips in the empty sockets of the eye mechanism!
 I was lucky and Lu’s new Chewy Rabbit eyechips stayed inside their sockets on their own. If that’s not the case, you can use a little bit of glue at the outer edges on the back of your eyechips.
Check the loose eyelids inside of the faceplate!
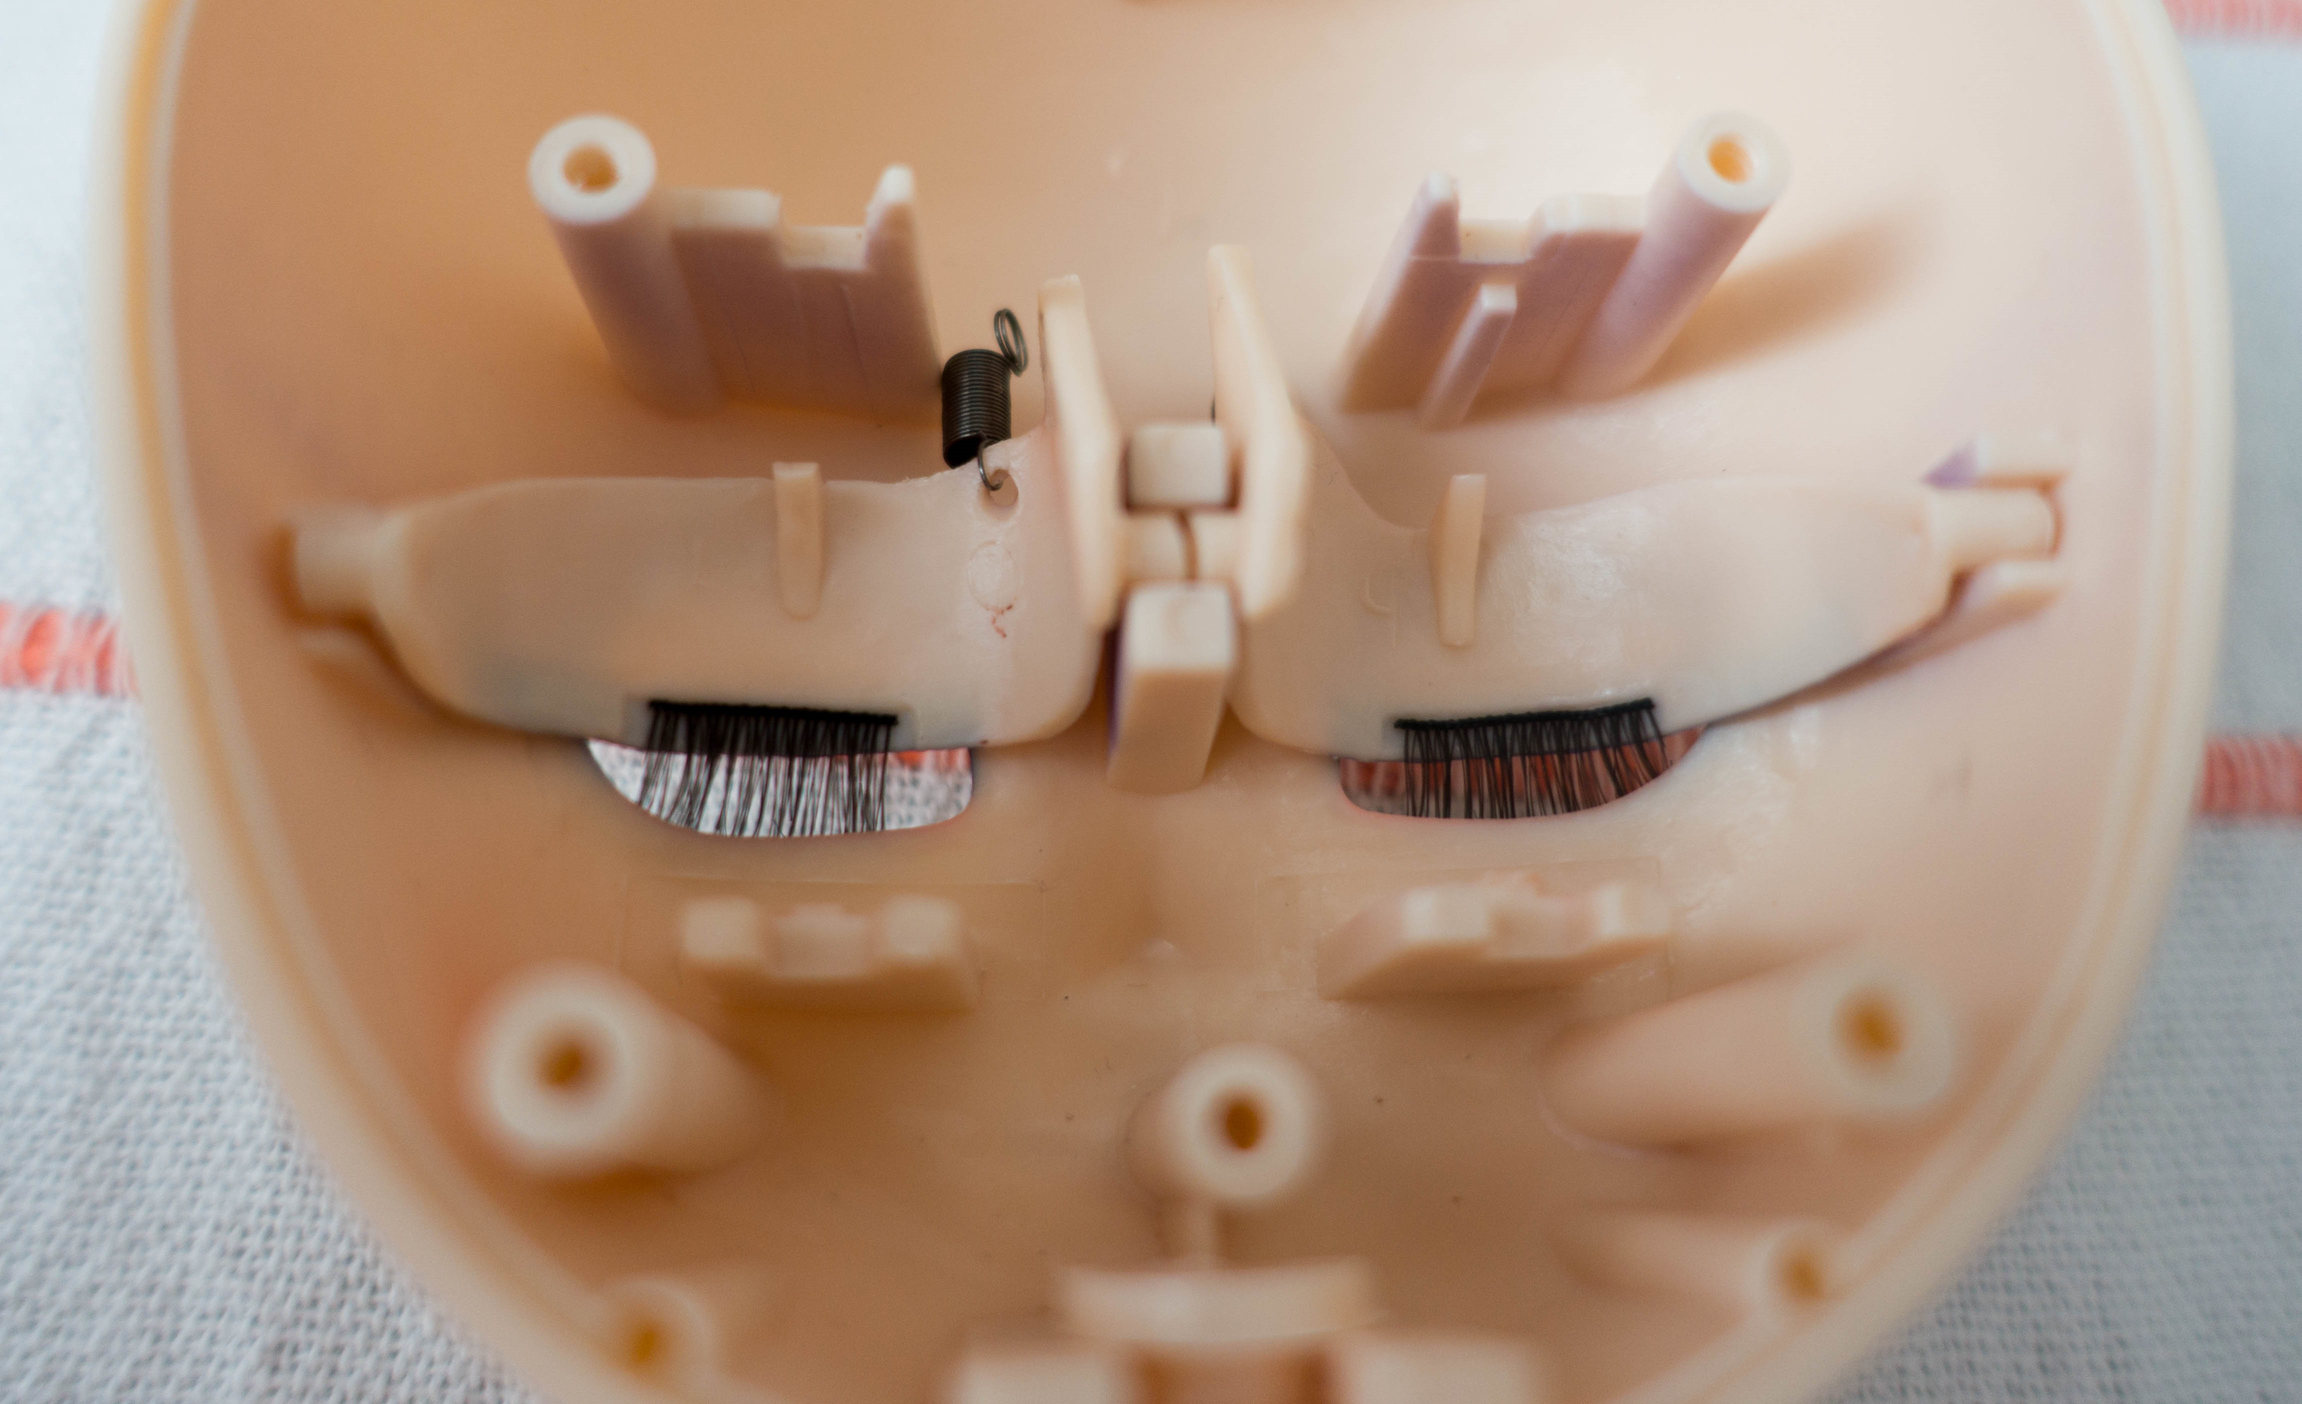 Especially take care that the little springs on top of the eyelids are facing up, so it will be easier to put them back on the actual eye mechanism.
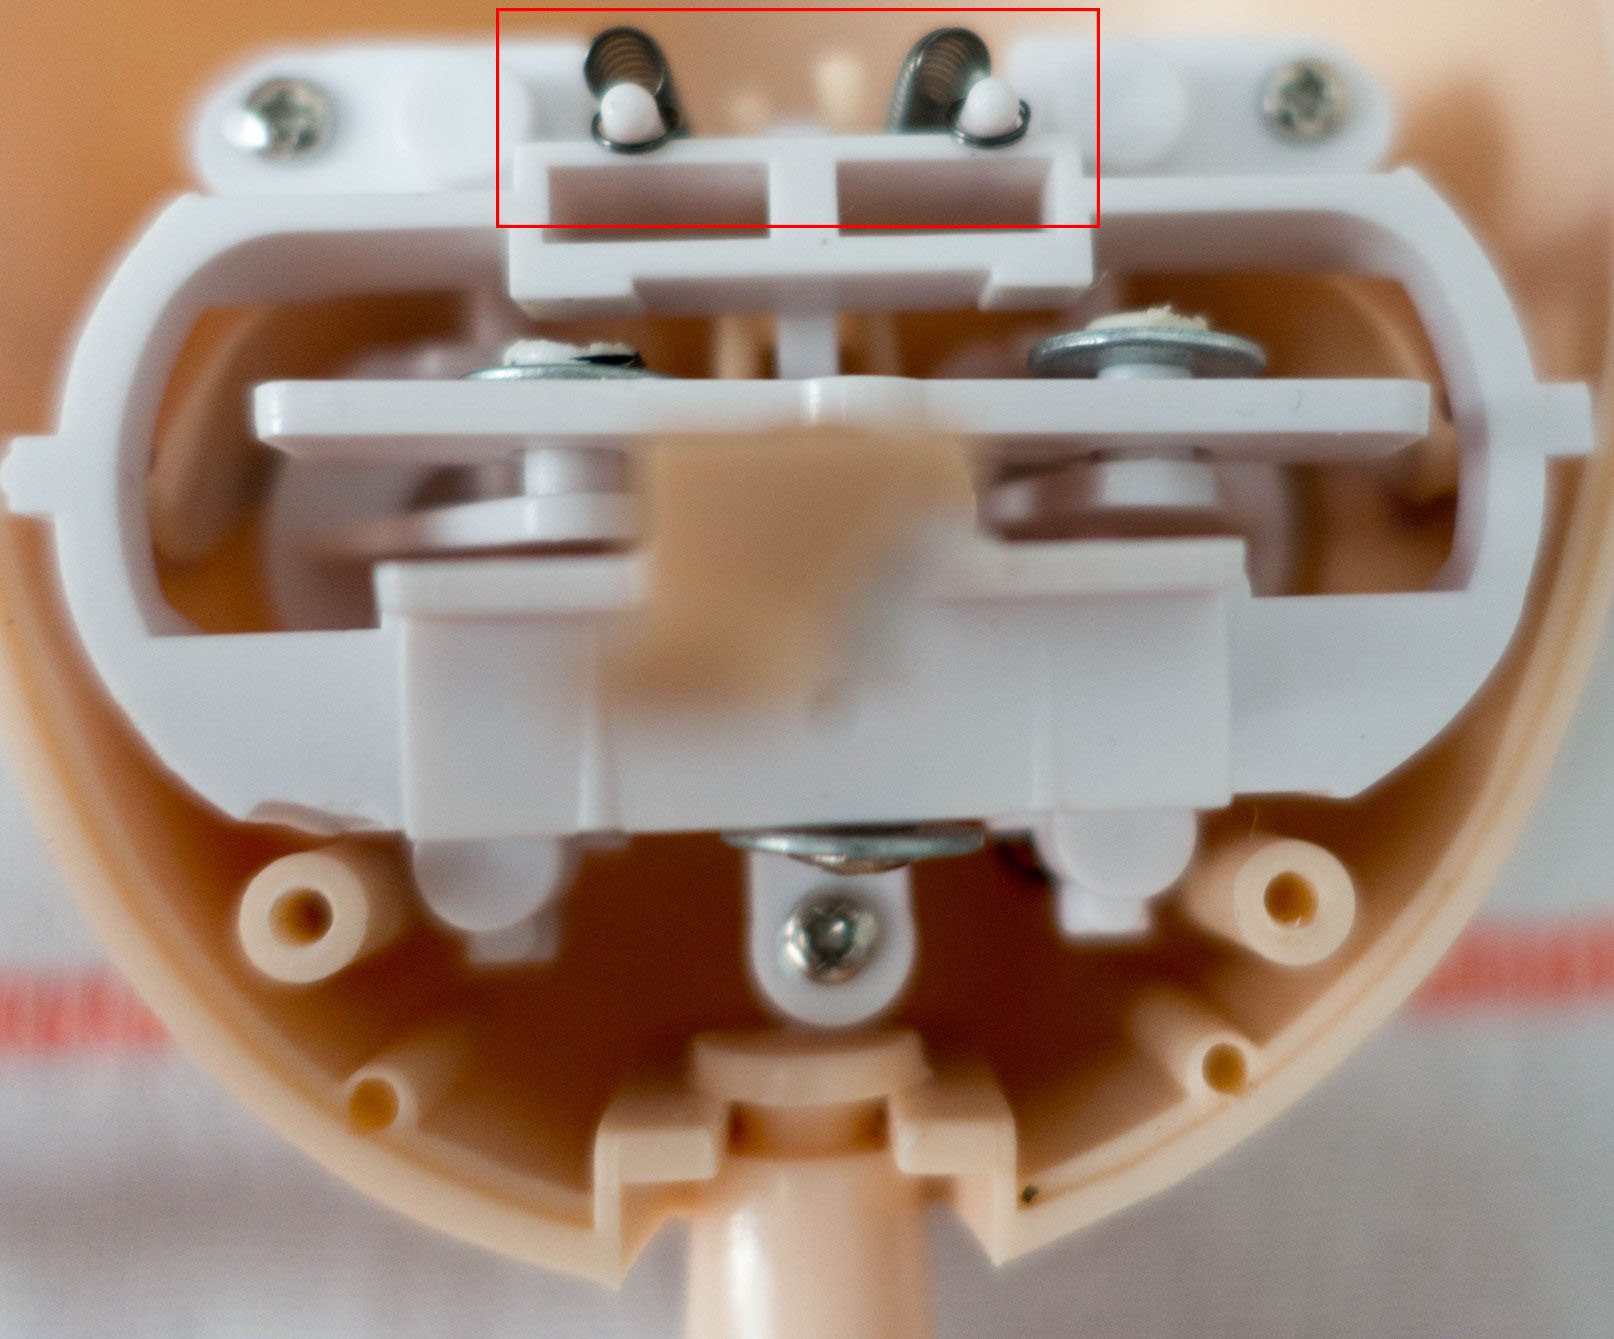
Screw the eye mechanism back onto the faceplate!
Now it is time to secure the three screws from the eye mechanism onto the faceplate. Make sure that the springs in the front of the mechanism are under the white plastic.
Reattach the two springs of the eyelids onto their ledges on the eye mechanism!
 This can be pretty tedious, but it is easier, if you grab the spring with a pair of tweezers and pull it towards its ledge, where it has to be fastened.
Put the two flesh-colored levers back, where they belong!
They are going to be responsible, when you want to close your Pullip’s eyes and go to the left and right to the lever that is permanently attached to the eye mechanism.
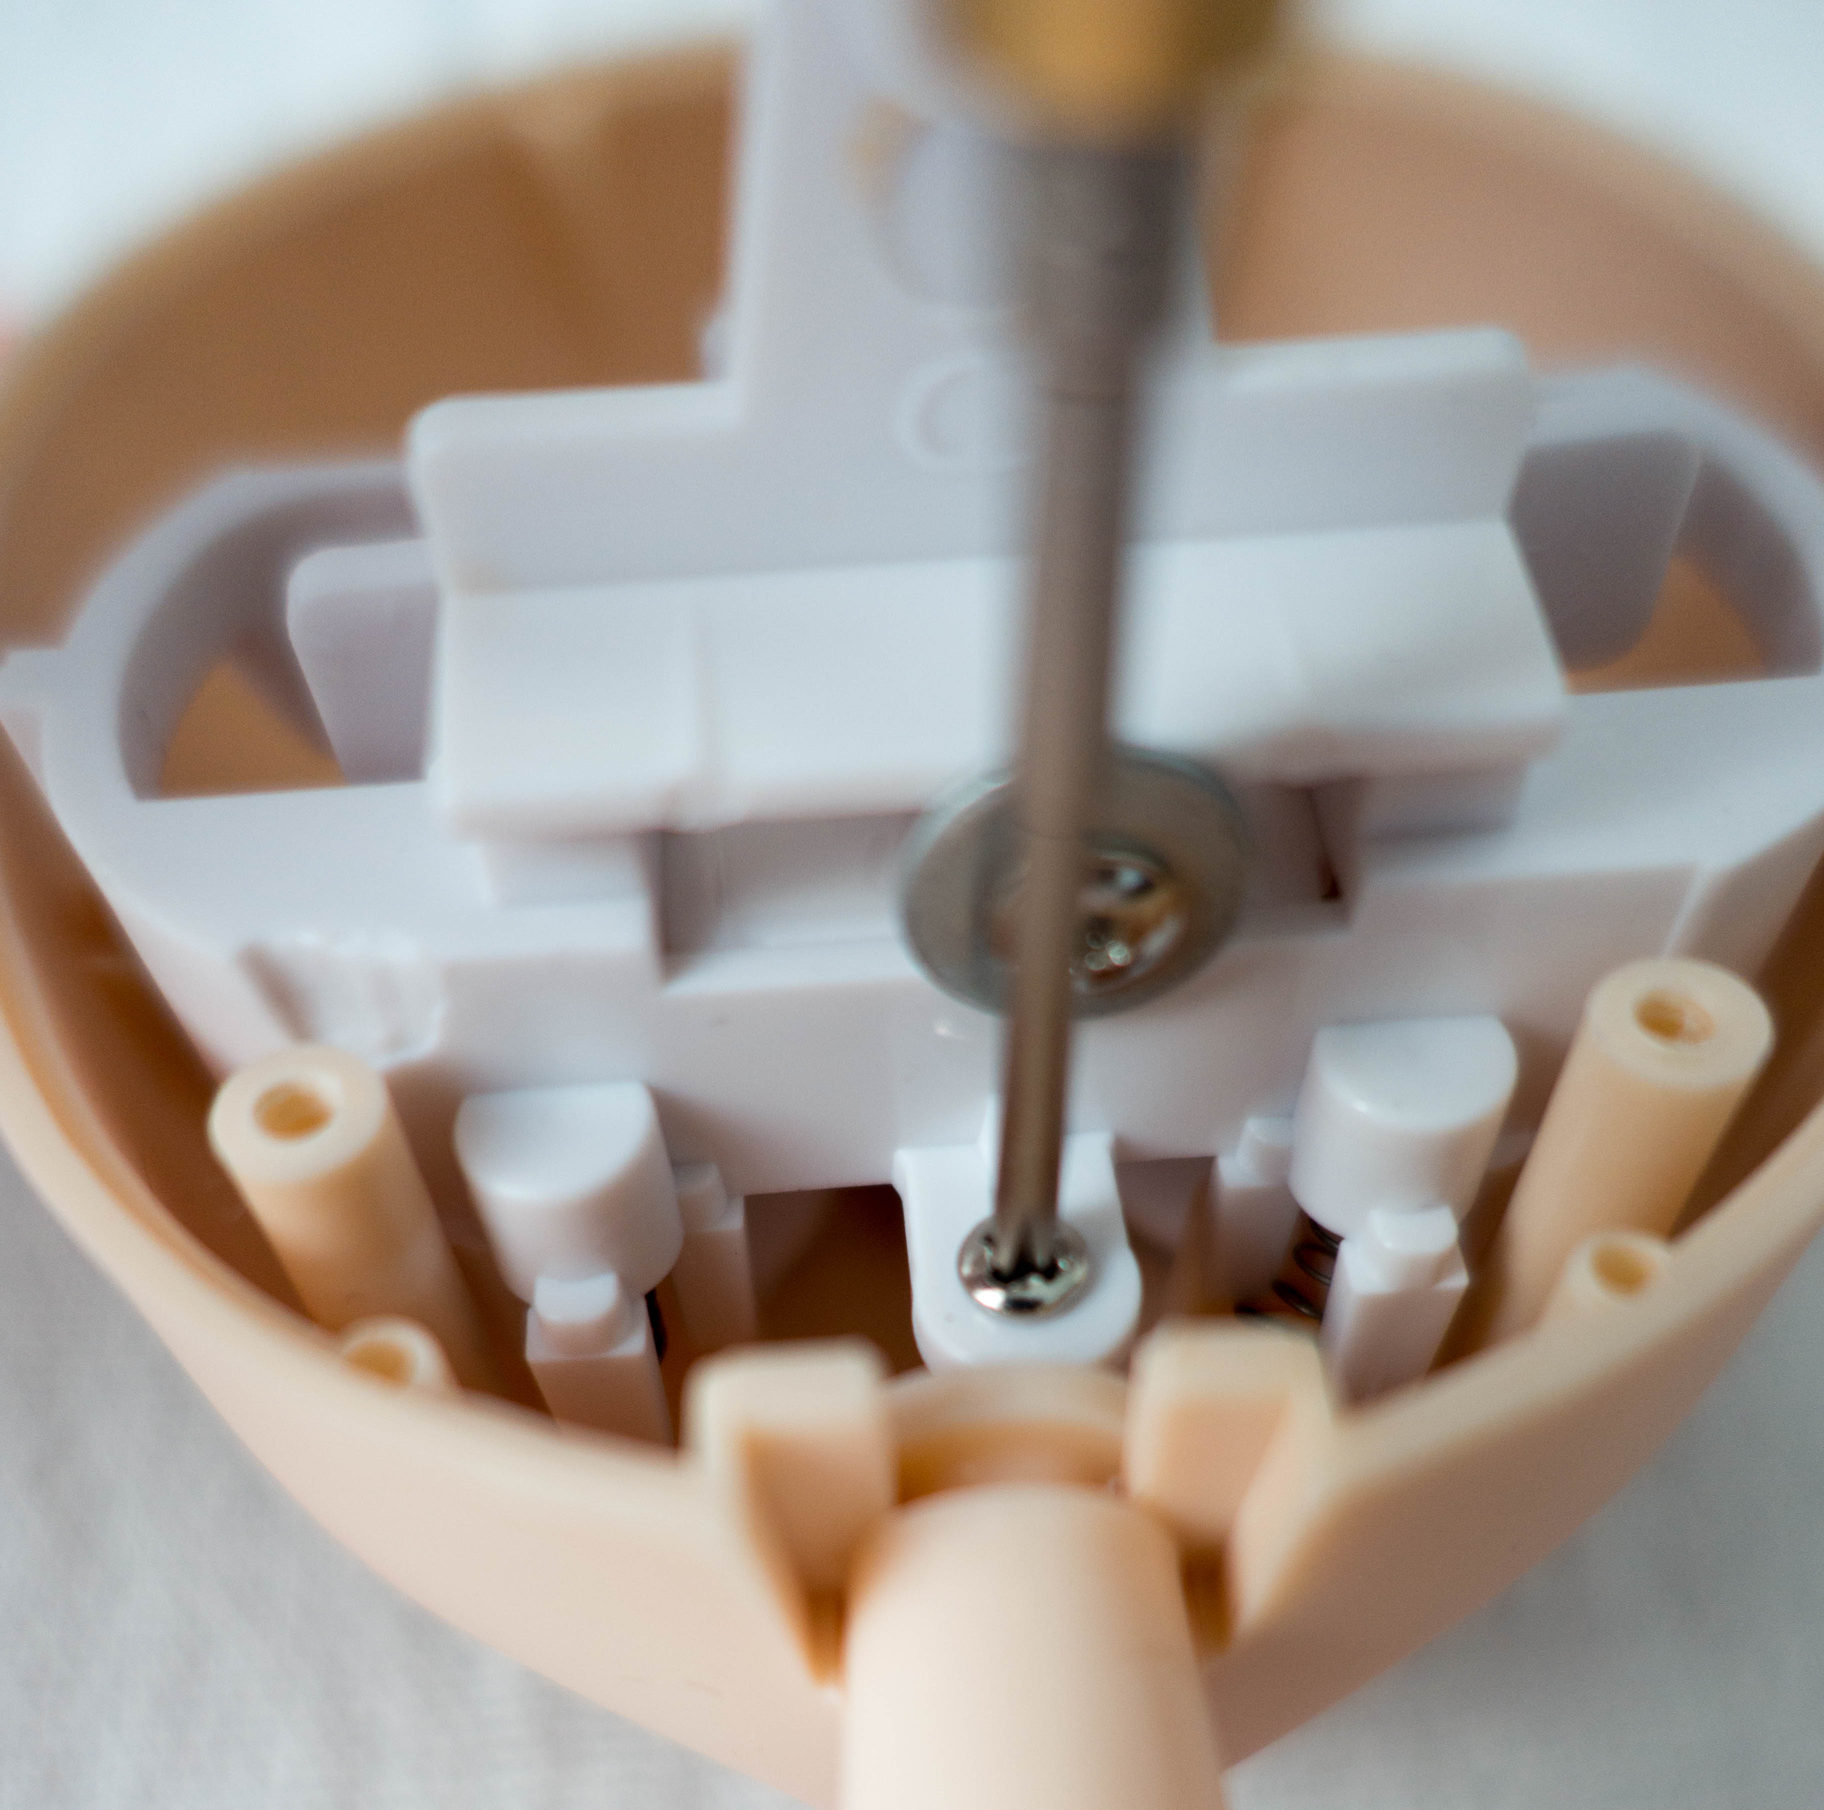
Screw your Pullips head back together!
Three screws are all it takes now to finish your little project! Make sure that your Pullip’s eyes correctly move from side to side and close. You are finished! 😀 Congratulations!
I hope that this post was helpful to all fellow rookies out there and if a more experienced customizer somehow found this post, please tell me, if there are some tips or things I could do differently!
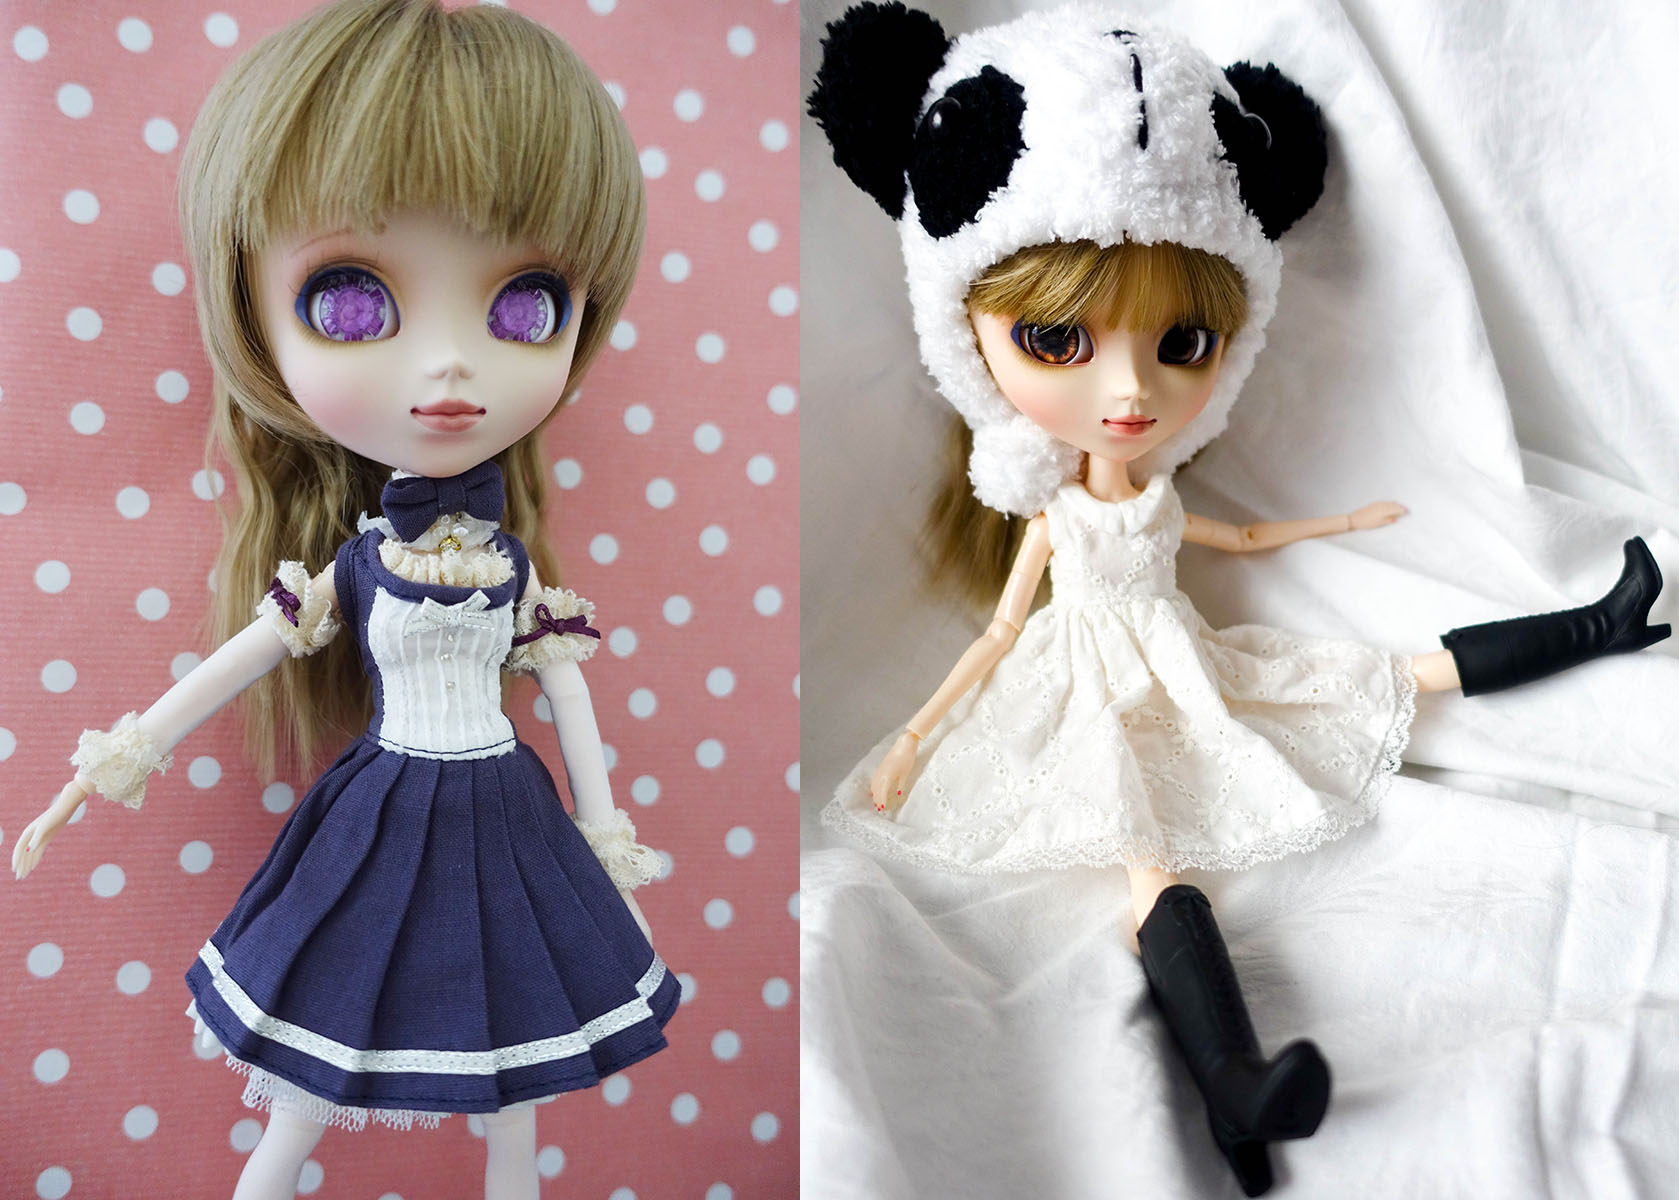
 I love Lu’s new look and hope to spoil some of my fellow Pullips with new eyechips in the future! Thank you so much for reading!
Theri
I still don’t know if I’m brave enough to change a stock doll, but it’s so interesting to see the steps! It’s also interesting to see how Lupinus’ eye chips are a flower! I had no idea! Thank you for the tutorial!
You’re welcome! 😀 You are so right, it is hard to begin, but now I am so hooked. The most troubling thing is to get the stock chips out, but after that it’s like a walk in the park!
Hi! Thanks for the tutorial! 🙂 I’ve already tried to remove eye chips, but didn’t succeed. I was too worried about damaging not only the stock chips but also the eye mechanism itself. Have you experienced this yourself and do you think there’s a real risk? Have you ever soaked the eye chips in hot water, to help the glue loosen up? I’d be really grateful for your help!
Hello and thank you so much for your comment! 💖
I can definitely tell you that I have damaged stock eyechips in the past by breaking them out of the eye mechanism! Some Pullips, like Lupinus and Laura, have clear eyechips glued on printed paper, which will be destroyed. Then I remember Pullip Marie’s eyechips being extremely stubborn too and if I ever want to reuse them, I will have to paint over some scratches first.
So far, I haven’t damaged an eye-mechanism, even though they are so flimsy that I feel like I came close. I also never tried the hot water soaking method, but if I was in a pinch, I would try it!
It is just crazy that some eyechips are super easy to remove (Nana-chan, Classical Alice, etc.) and others are a nightmare! I can only advice you to stay calm, when your mechanism is starting to get flimsy after removing one or both eyechips, as long as you can still position it right into your doll’s faceplate, you should be good! It is such an icky feeling to handle it roughly, so unnerving!
I wish you all the best of luck! And thank you so much for visiting!
Theri
Ahh, how much I appreciate your help, thanks! Yes, it’s such an unnerving feeling to fiddle with that delicate mechanism- it seems as if it could break from the slightest amount of pressure! BUT, having read your reply, I do feel encouraged to try again in the next few days. I’ve chosen my least favourite doll as the test bunny, haha…! She’s also the one who’s in the need of nicer chips, so…
Your blog is my favourite Pullip blog, by the way, I’ve just never commented before! You always write in such a positive, enthusiastic and loving way about your dolls, and your photos are very attractive and uplifting. Your reviews and other pictures of Classical Alice, Cassie and Callie sealed my decision to buy these dolls- and they’re SO precious!
I know, how you feel: I was so freaked out, when I was handling the mechanism for the first time. It was Pullip Marie’s too and I already mentioned that I scratched her stock chips pretty hard. >< But it gets better and you will see, soon you'll be changing eyechips in your sleep! 🙂 Thank you so much for liking my blog! I am so happy, yay, thank you so, so much! 💖💖💖 I am also so happy to read that you have Classical Alice, Cassie and Callie in your collection! I love them! 💖 Have a lovely day! 💖
Hi again! I come with good news: I succeeded and my girl has lovely new eye chips now! It’s all thanks to your peer support, so I’m sending you a big virtual hug! It wasn’t even scary in the end, actually, and I didn’t damage the original chips. Yay! 😄
Yaaay! 🙂🙂🙂 I am so happy to hear that! Great job, Selina! 💖
Thank you so much for telling me and I am sending you that huge hug right back! 💖💖💖
Ok, so I just wanted to know if the chips for Pullip Amelia and Isul White rabbit in steampunk world were easy to remove. Maybe you don’t know, but it would be cool if you did.
Hello!
Sorry, I have no idea about these two. But I cannot remember ever reading about anybody having problems with changing their eyechips so far!
Hi,
I am in big trouble.
I just got Pullip Momori but her eyelids are stock.
Do you have a tutorial for that?
The first step is removing the wig, I guess.
In this video, you can see the problem: https://wetransfer.com/downloads/225dec05c884e11bb4fdf6b54f8c300920200208162446/bf0d4e
Hope hearing from you.
And thank you so much!!!! <3
Hi Edna!
I am really sorry, but I just read your comment now and the video isn’t available anymore.
Sometimes you can try and gently move the eyelids a tiny little bit without having to open your doll’s head. My Sailor Neptune’s lids always get stuck and I need to push them back into her head.
If that’s not helping, you should open your girl’s head to make sure everything is in order.
Hopefully that helped and your girl will be able to wink and blink again. 🙂
Yours, Theri
Thanks for the tutorial! I got my very first Pullip today (the Aileen one)! I‘m really hooked to try changing her eye chips but I‘m too scared. Her default eyes are just so beautiful already~
Do you know how easy it is to remove her chips perhaps? As a beginner I‘m really scared to break anything.